
Can’t believe it’s been 3 years since I shared some Halloween treasures! If you follow me on social media, you’ll have seen that this year for Inktober, I’m hand-lettering and illustrating Halloween scenes on envelopes and sending them out into the world! I figured I’d share some of those illustrations with the masses as well by creating coloring pages out of a handful of them! So here you lucky boos and ghouls go! Download and print away! And please tag me if you show them off on the social medes!
Have a Sweet & Surple Valentine's Day!

Hello hello! It’s been awhile! Last time we chatted, I was doodling about hell so… this will be a drastic change of feel. Lmao. Tomorrow is Valentine’s Day and if you’re anything like me, you had all the best intentions to get a card for your S.O. but were waiting until it was above freezing outside to go get it. Since it seems winter is sticking around a lot longer than was wanted, here is a sweet treat from me to you: a free, downloadable, printable card! It’s a quote by the charming Roger Miller, the voice of my childhood. This is from his song called “Dang me”. Listen to it. It’s slyly humorous.
I decided to doodle this for my hubby because he’s one of the only people I know that would get this reference. We love the same obscure things, we giggle when kids fall down, we put the same importance on family as we do pizza, we just GET each other and I’m so blessed to have found him.
I hope this card brings some joy and chuckles to your loved ones.
XOXO!
If You're Going Through Hell, Stop & Say Hi!
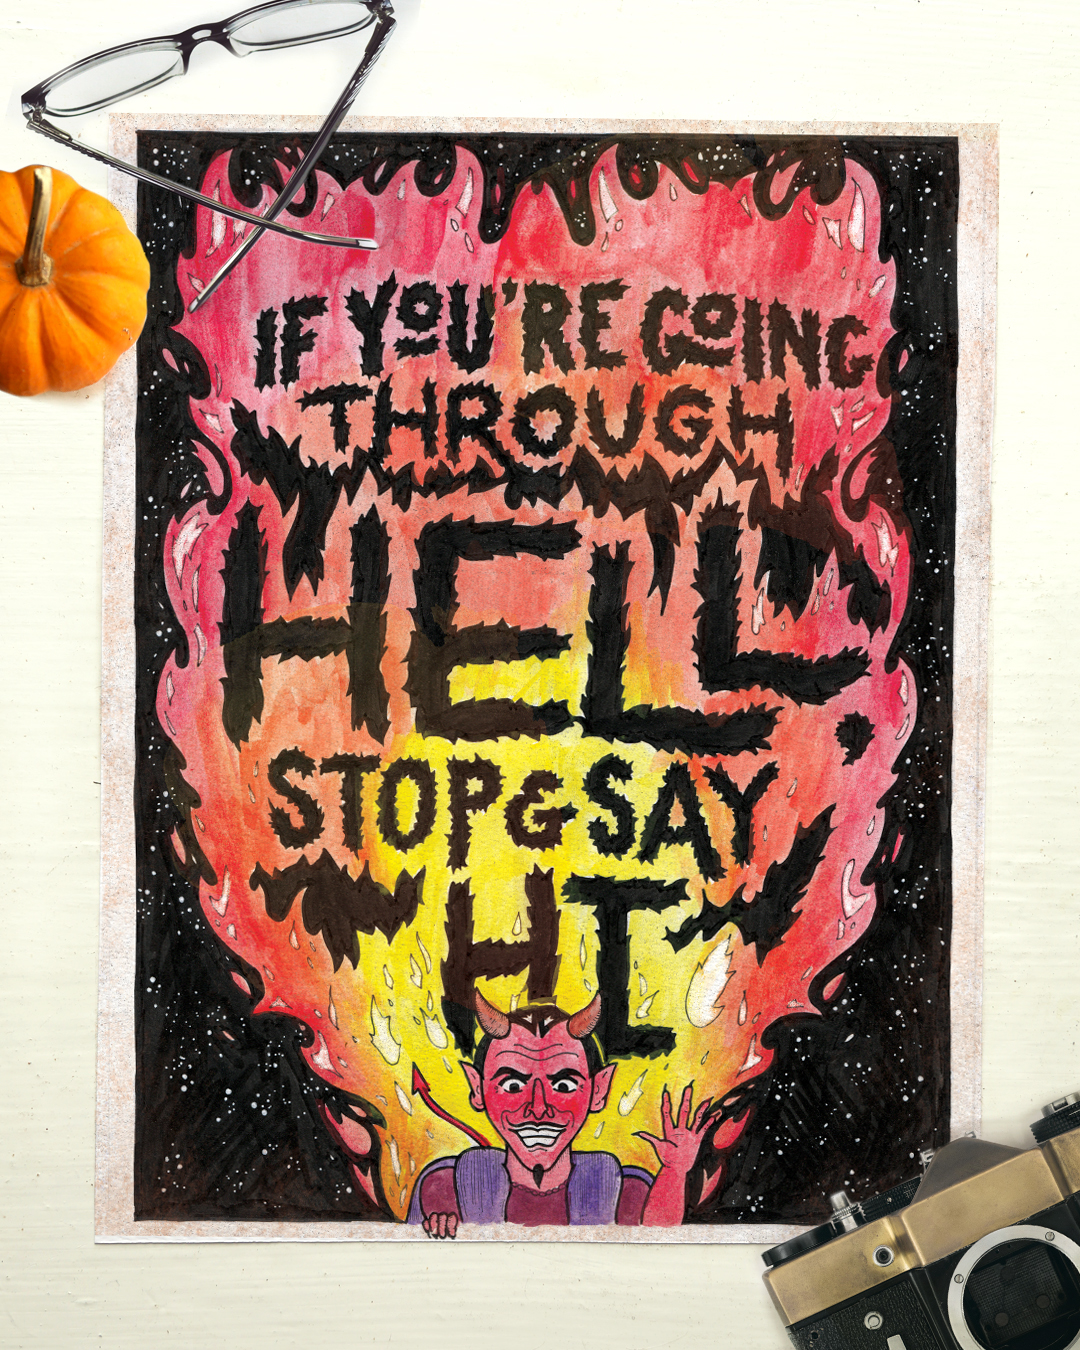
Happy Halloween Eve!! This brings us to my last #inktober piece. I had a few more quotes I wanted to do but alas, time got away from me! For this piece, I knew I wanted to make my typography out of flames. I got some inspiration for the devil from retro illustrations. I wanted him to look menacing but also comedically friendly with his overeager wave, lolz! This coloring page may not be suitable for kids but I hope all of you adults can get a good chuckle out of it!
xoxo
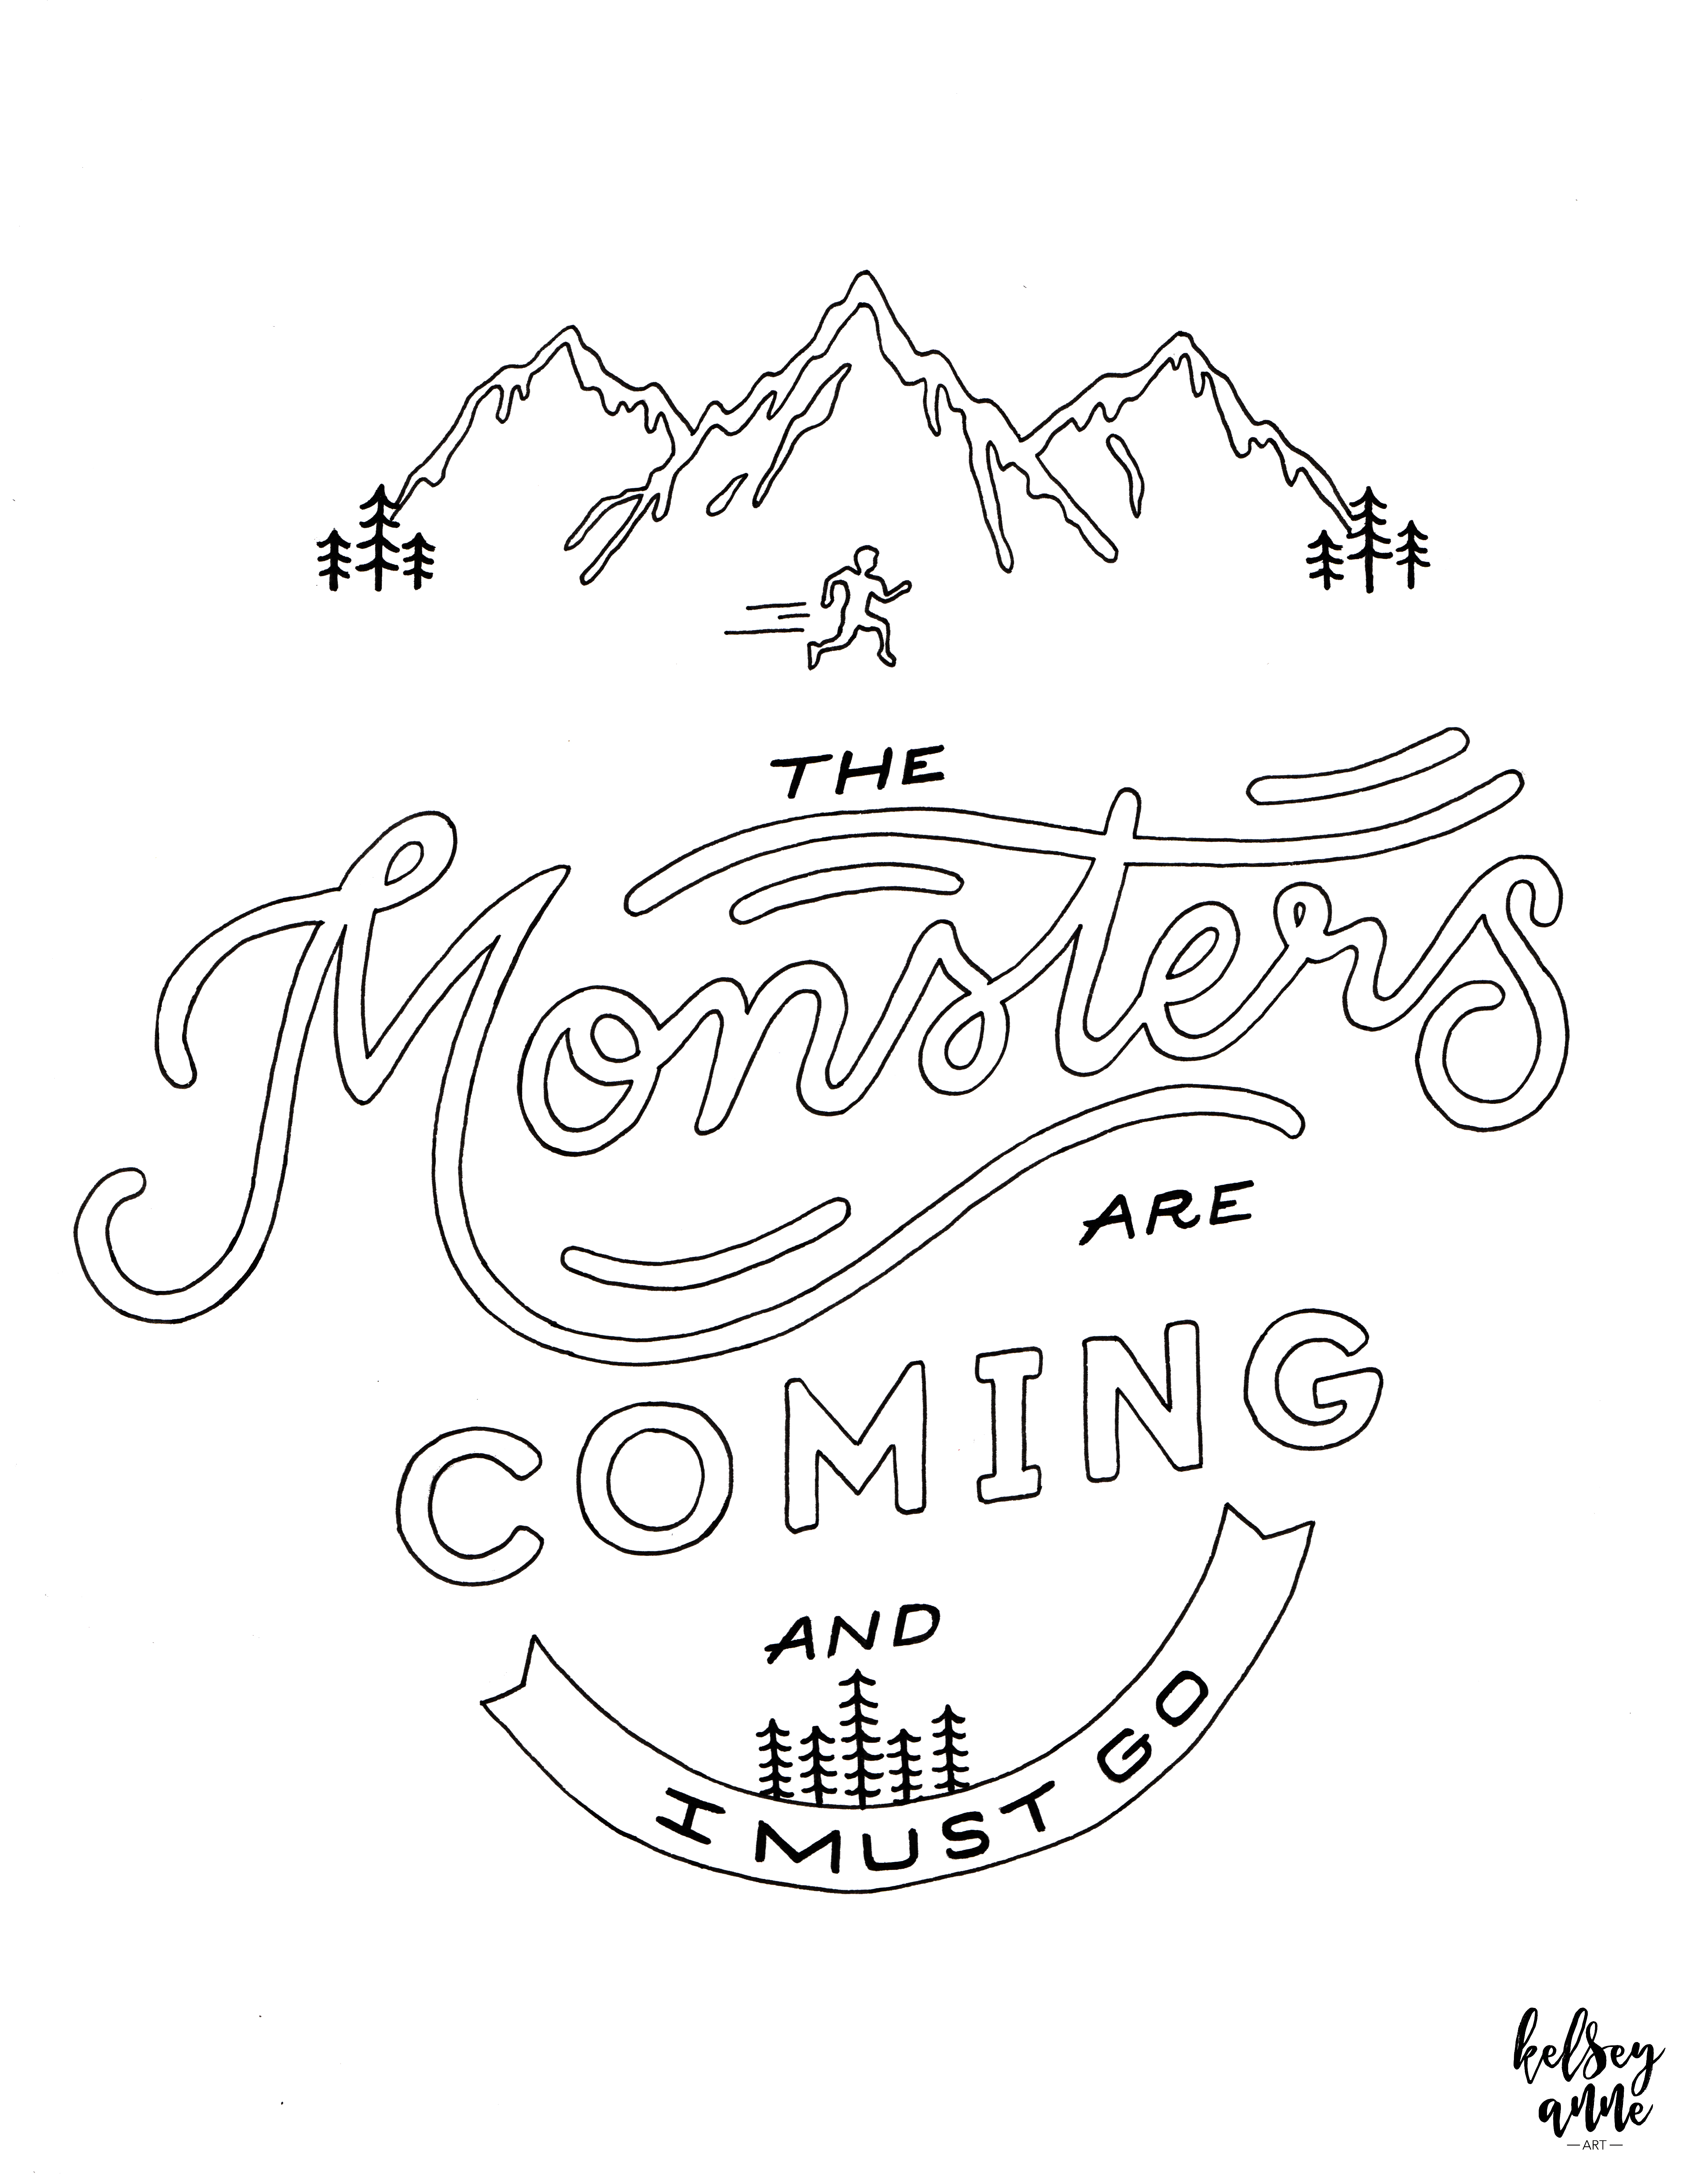
The Monsters are Coming and I Must Go
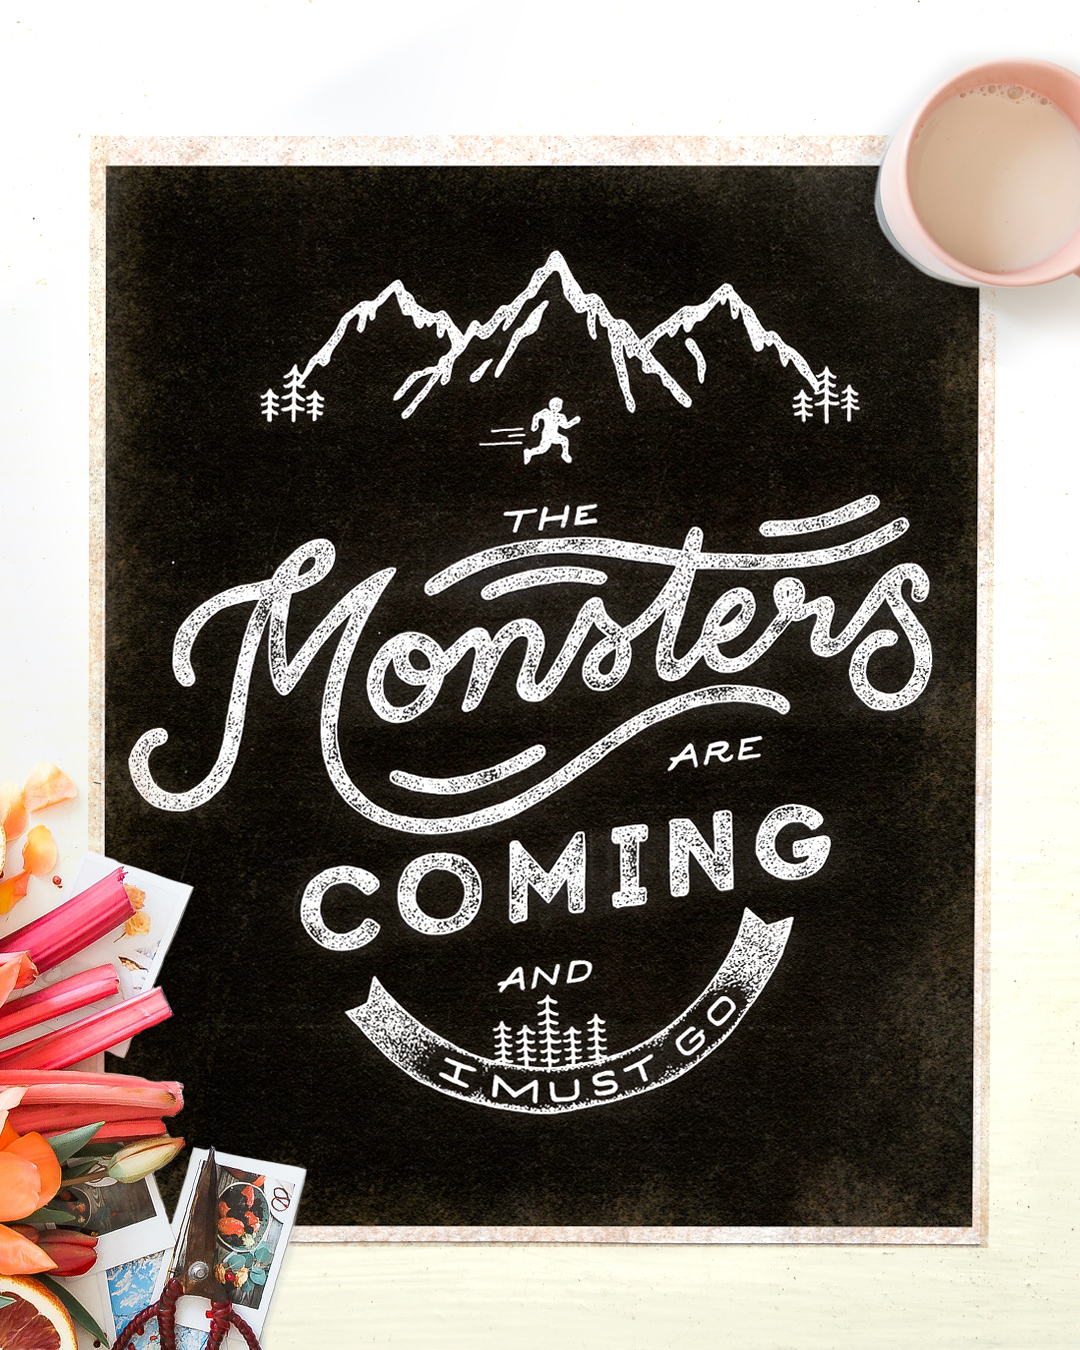
As many of you know, I’m not a big outdoorsy gal. I like my bed, I like indoor plumbing, and I like central heating. So the quote “The Mountains are Calling and I Must Go” never really resonated with me. The idea of monsters coming, however, does resonate with me and it’s probably the only thing I’d ever run for. If you can relate, download this coloring page, add your magic touch, and share it on social media! Remember to tag me!
Be the Strange You Wish to See in the World

“I myself am strange and unusual.” Can anyone else identify with Lydia from Beetlejuice? If you can, download the coloring page and share on social media! Remember to tag me because I’d love to see your pieces of art!
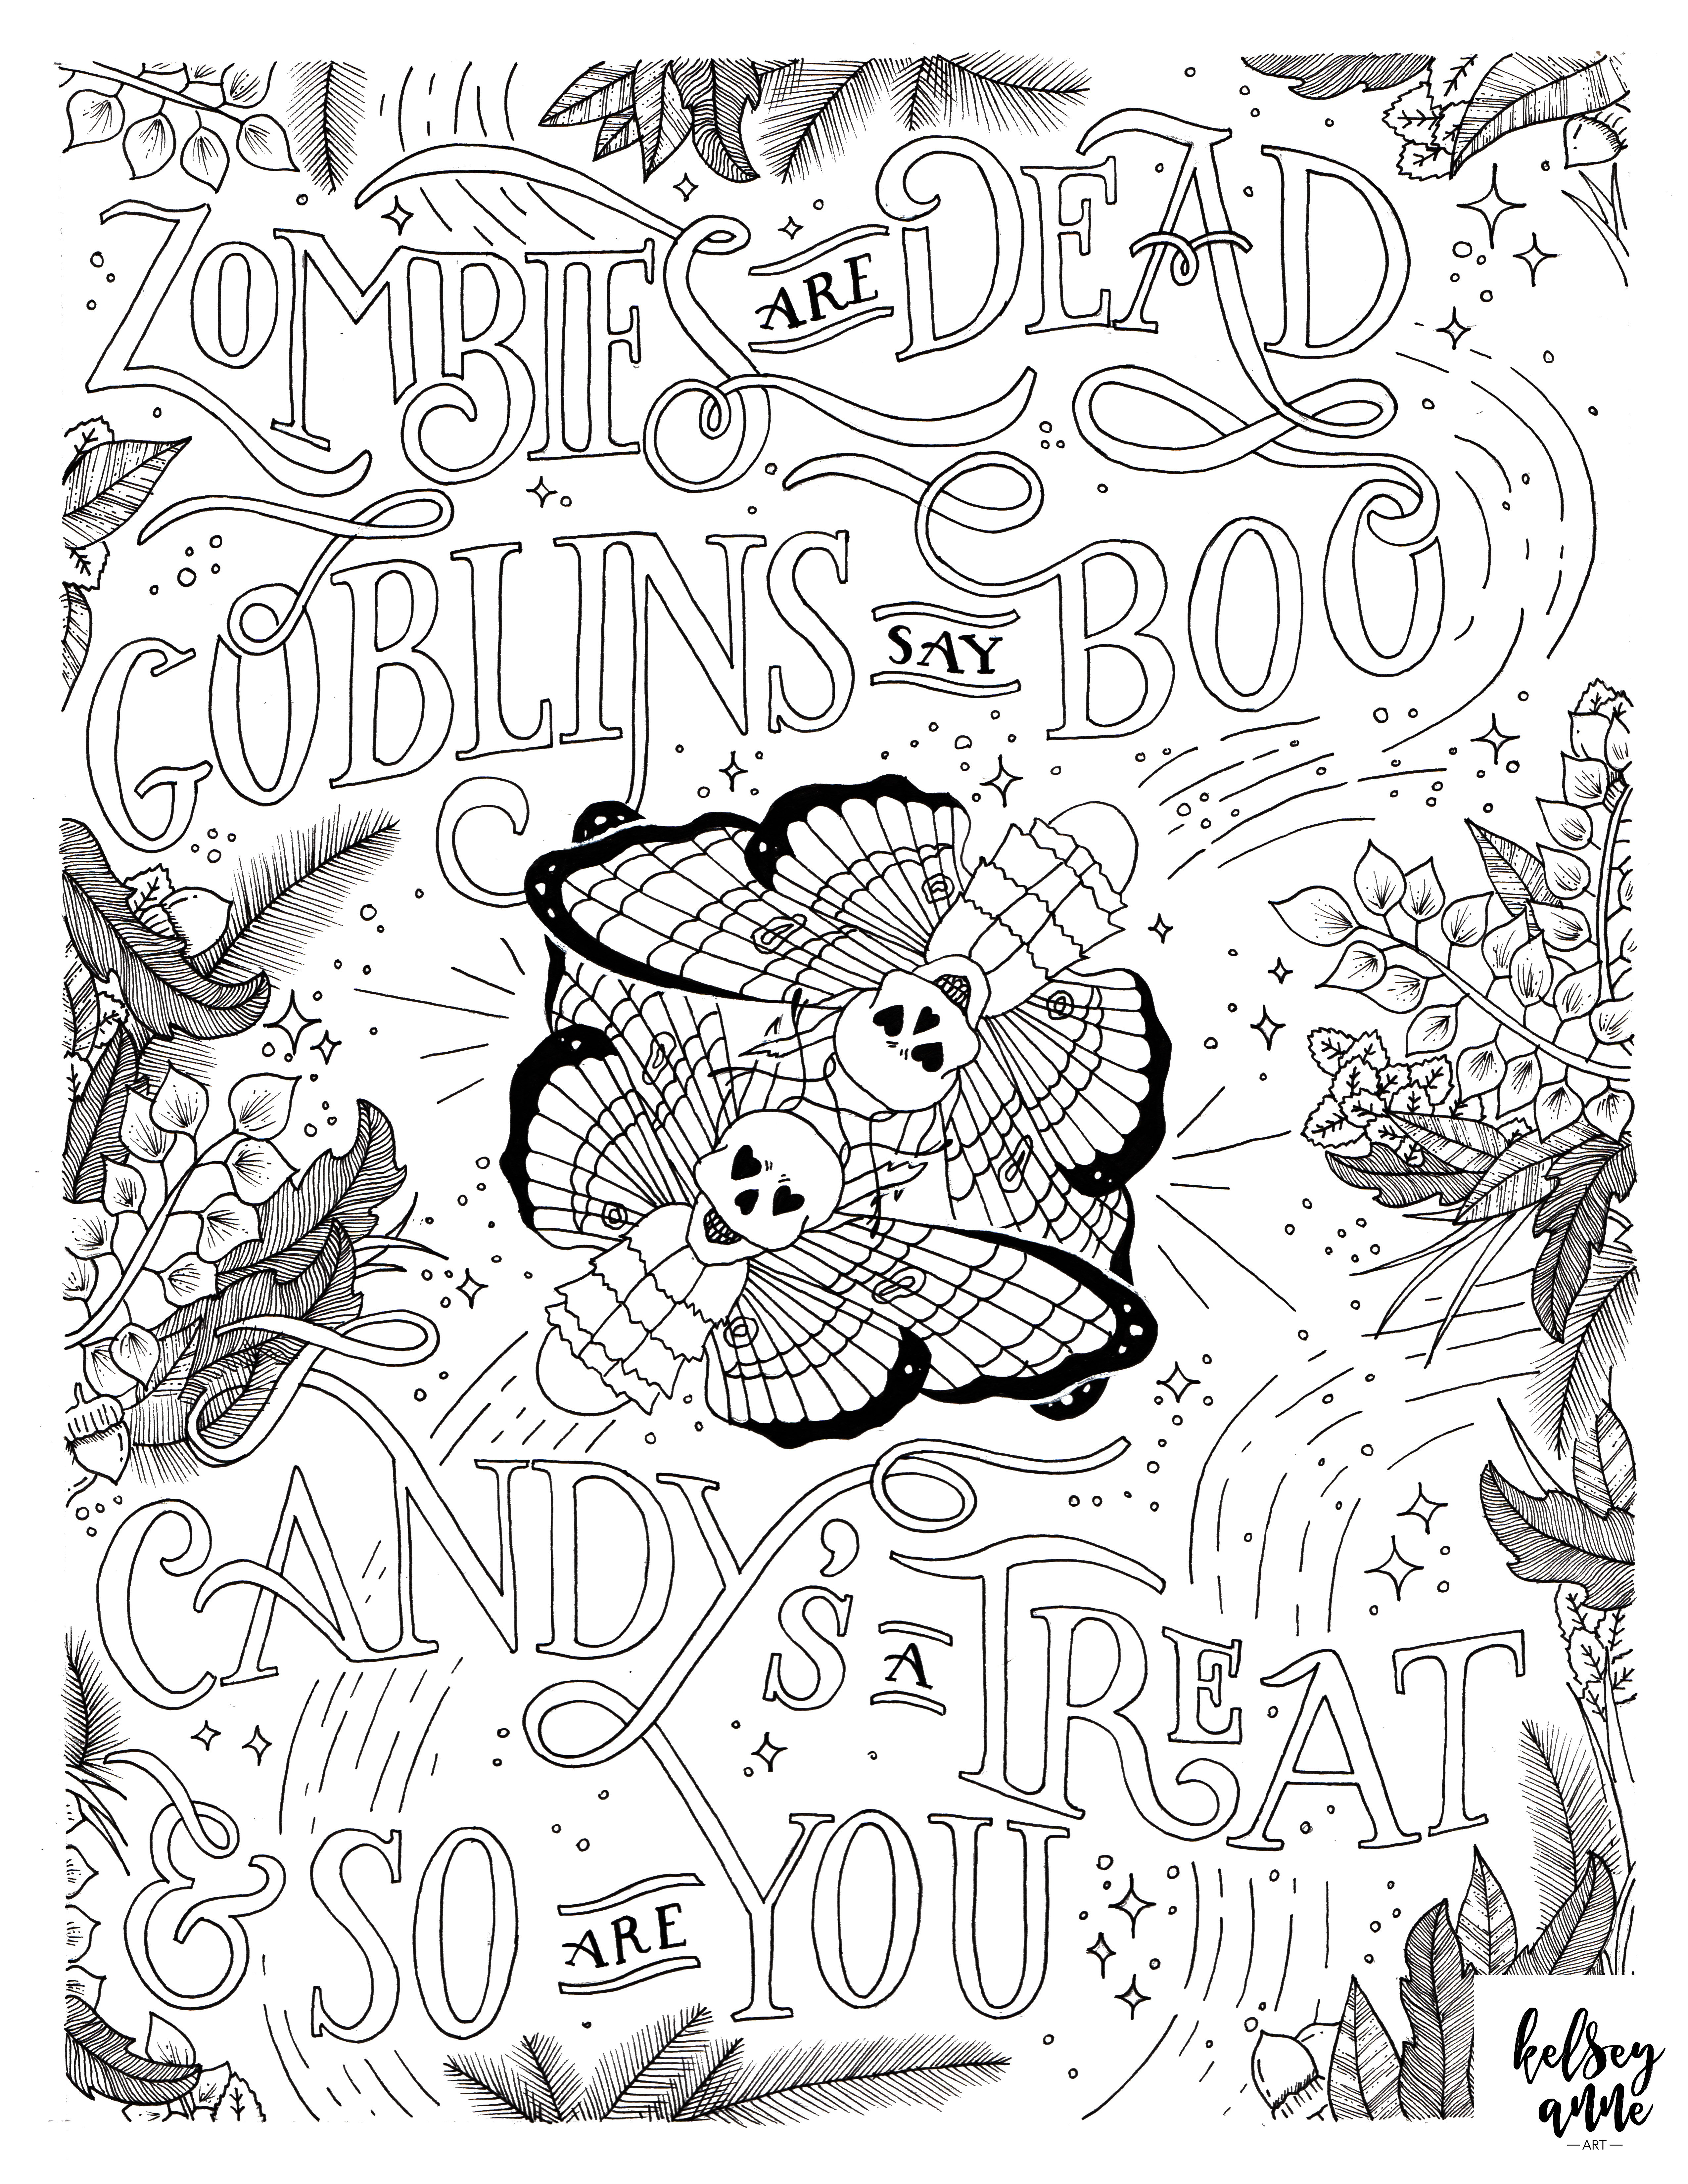
Zombies are Dead Poem

As many of you know, every week I participate in a hand-lettering challenge called #HOMwork. This week the challenge was to create a Hallo-tine’s Card for our loved one. I decided to go with the classic Roses are Red poem and Halloween-ify it! I also wanted an excuse to draw some Death Head Moths which are probably the coolest insects everrrrr.
I hope you enjoy this coloring page and give it to someone you love!
xoxo,
Kelsey
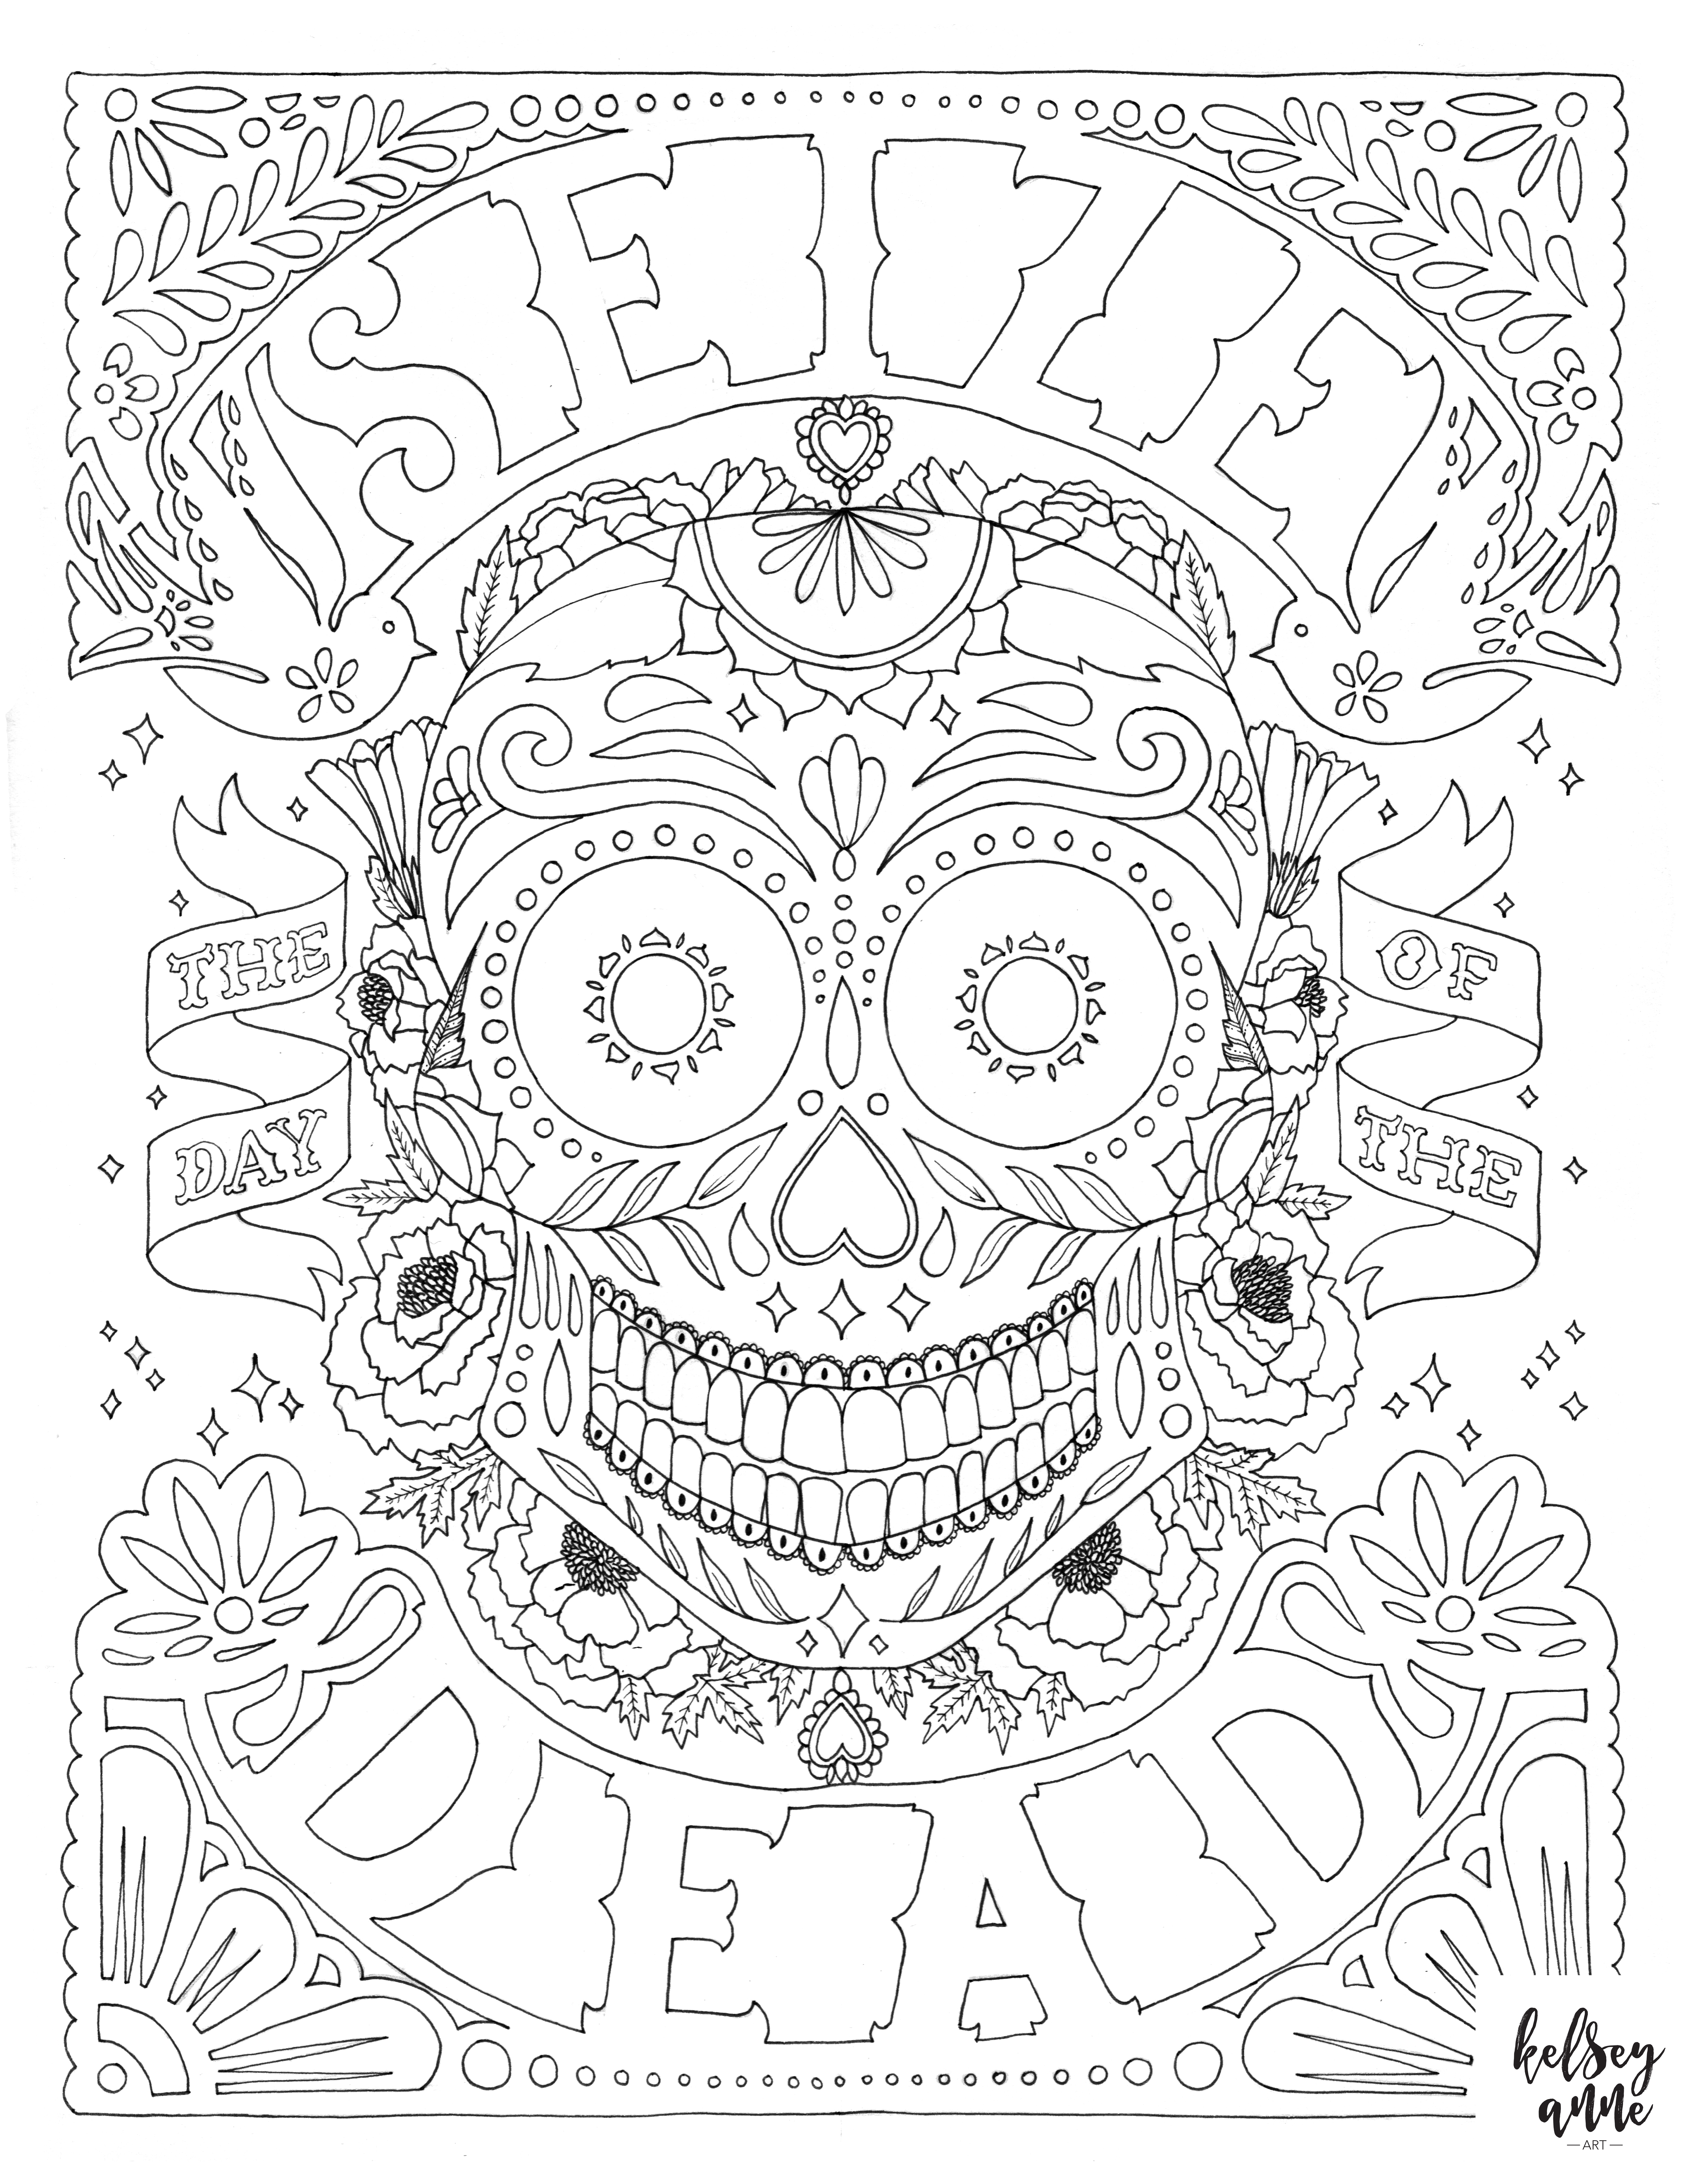
Seize the Day of the Dead

Oooooh yassss! Sugar skulls! I was tempted to just focus on sugar skulls this #Inktober season, maybe I will next year! This piece is a little play on the motivational quote to “Seize the Day”. I loved researching Mexican paper flags and the meaning behind the use of marigolds for Dia de los Muertos to complete this piece. It is said that marigolds use their color and scent to guide the spirits to their respective altars. If you had a flower or symbol to guide you to your respective altar, what would it be?
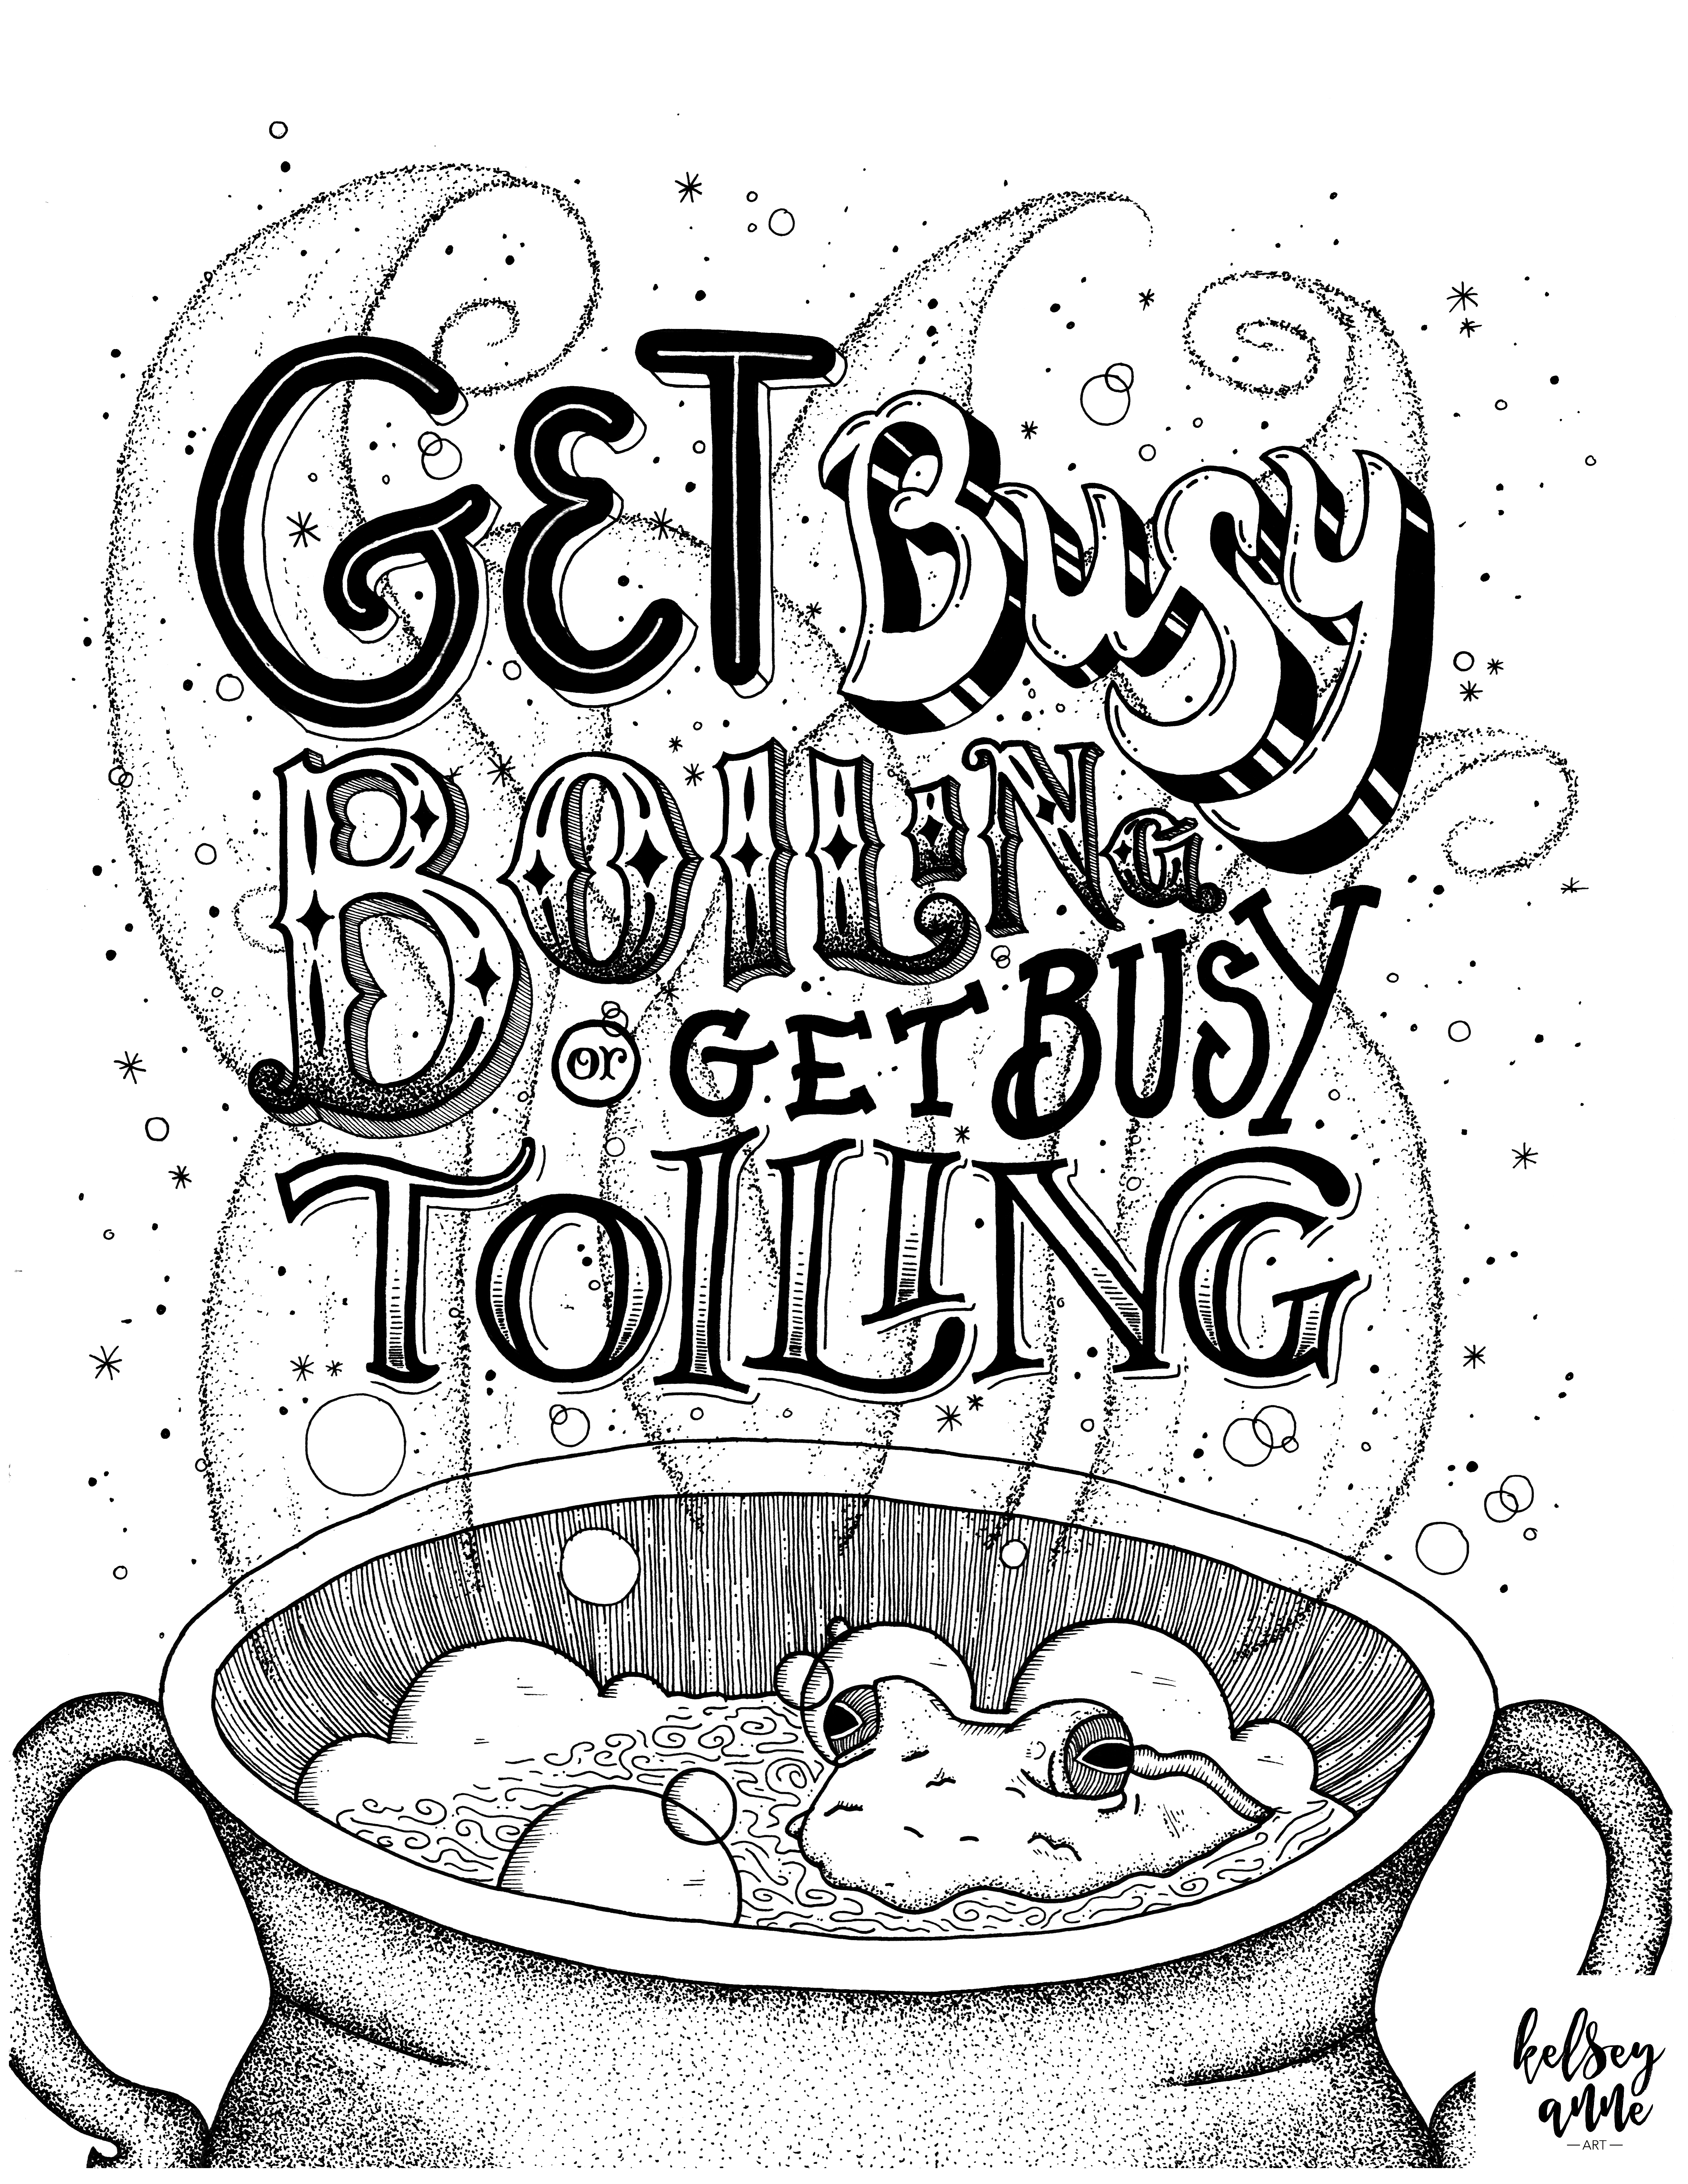
Get Busy Boiling or Get Busy Toiling

Happy weekend everyone!! Here’s another FREE coloring page for ya! I would love to see your works of art once you’ve colored them in! Tag me in your pictures on Instagram and/or Facebook!
xoxo,
Kelsey
Inktober 2018


IT’S FINALLY HERE!!! Hello and welcome to Inktober 2018! I’m so excited to share with you my theme and spooky artworks for the best month of the year. My theme this year is Motivational Quotes with a Halloween Twist. I found the inspiration to take a well-known thing and make it my own from Lauren Hom whilst participating in her weekly #homwork challenges. (Y’all should join the fun if you haven’t yet!). I decided to go BIG this year and create artworks that have a lot of detail, texture, color and hidden gems that keep your eye partying like it’s 1999. Because of the aforementioned BIGness and because I’m now a mom (still so crazy to me), this won’t be a daily thing but instead, a weekly — sometimes twice a week thing! (depends on if Proux decides to actually nap!)
This year will also be a little different because I’m getting y’all involved more! I’ve created high res coloring pages for each of my designs that you can download for FREEEEE! Get your kids involved or do it alone in the bubble bath while sipping your pumpkin spice beverage!
And finally, I’m also selling these doodles on my Society6 page! You want it on a card? You got it. You want it as a wall hanging? Boom. Done.
Get into the spirit with it all!
ANSWERED: 3D Beveled Lettering — How?
With #Inktober coming up, I’ve been busy! So sorry to keep you waiting on what I found out about this type of lettering! To start off, I found out that some people refer to it as “Beveled Prism Lettering”, so that’s neat.
During my research, I found this video tutorial that really helped me learn the basics. It didn’t answer all of my questions and if you look at the worksheet the lady generously supplies, a lot of the letters look just as I would expect them to but some had lines and angles that didn’t quite meet up. I wanted to figure out why. But we’ll dive into that in a minute. Let’s start with the first step:
Draw a bold/block sans serif letter
Draw the letter inline. (Before learning more about this topic, I used to skip this step and go straight to creating the inline triangles. This is a no-no. Don’t do it! You’ll see why!)
Common mistake: Drawing the inline with corners that don’t match the block letters’ lines around it. The worksheet that Marzi did has some inlines that do this, specifically on problem letters like ‘N’, ‘M’, and ‘W’. Geometrically speaking, you can totally do it this way but optically, it doesn’t look great IMO. Basically, all I know is that when I compared hers to James Lewis’ “Versa Font”, I noticed that difference and thought Lewis’ just felt better.

Example A

Example B

Example C

Example D
3. Draw the crossbars’ inline. Connect the crossbar inlines to the exterior lines with diagonal lines. (Have I said the word “line” enough??)
4. Draw your inline triangles at the ends of your stems, if applicable. Draw quadrilateral shapes on the ends where needs be. As you can see with the first example of the ‘N’, the top and bottom triangles don’t align. This is a problem. Geometrically, you can form your letter so the inline triangles do align BUT in order to accomplish this, the top triangle ends up being really short and wide. We don’t want that. We want all of our inline shapes to be the same height. Another reason this doesn’t work usually, is because as you can see in Example G, the pink lines are longer than the blue lines. This is how most “problem” block letters are formed.

Example E

Example F

Example G

Example H
By Vintage Voyage Design Co.
5. Concerning letters with bowls and counters: Most of the beveled fonts I observed didn’t have the added separation line in the bowl/counter aligned with the corner lines. (See Example H). I don’t know why that is. If anyone does, please let me know!
6. After that, determine where your imaginary light source is coming from to decide which of your fragmented pieces will be shadows vs. highlights. You can do 2, 3, or 4 colors!
7. Add a drop shade and shadow. See Example I.

Example I
By James Lewis
8. Don’t get too discouraged! This kind of lettering takes a lot of precision and practice so don’t get down on yourself if you can’t get it immediately. I might be saying all this because I’m the one that needs to hear it, lolz! I had the opportunity to chat with James Lewis @jameslewis (AKA the King of 3D lettering) about any tips he had on creating this type of lettering and he said that “In basic terms you link up all corners and draw an inline and then decide where the light hits the surface. If you’d like even more examples you can check out my font VERSA. Lettering artists around the world have found it very helpful tracing the forms to give them an understanding of 3D lettering.”
Another font that I looked at for reference is called Sandwich. It gives many variations on 3D lettering that’s fun and inspiring!
I hope that helps answer any questions you may have had! Looking forward to seeing all of your 3D gloriousness!
xoxo,
Kelsey
3D Beveled Lettering — HOW?

3D beveled lettering just makes my eyes sizzle and dance but I’ve never understood why certain lines don’t align with others, why the shadows are where they are (sometimes they aren’t consistent with the imaginary light source), and when the interior lines connect at a triangle vs a quadrilateral shape. This topic is especially hard for me because my brain cannot envision 3D objects. Do you remember all those pictures of flat shapes on those standardized school tests and you’d have to choose what it would look like all folded up? Yah, did NOT do well on those portions (or any portions…). So I had to get my husband and my IG friend Kiki (@the.kiki.b) to help me figure out how to even draw the “3” to introduce it for this week’s topic! After that, it still took me hours to throw it together and after ALL that, I still don’t like how it looks. My husband kept saying “Think of it as a roof, this ridge goes up, this goes up, yada yada yada”. So this week I’m going to dive into this demon of a letter. It may take me more than a week, I’ll keep ya posted. WISH ME LUCK!
ANSWERED: How do I Make My Pen & Paper Lettering Look Digital?
Have you been as eager as I have been for Kiki’s report back on this question??! Well, with no further ado, take it away Kiki!
With all of the Procreate letterers out there, you might start to think that the only way to make really great letters is with an iPad. While I'll agree that working digitally has its benefits, I don't necessarily think it's the best (and it's certainly not the only) way to go. The best lettering artists/typographers I know work almost entirely on physical media - paper, windows, glass, walls, what-have-you - and totally slay.
So now you want to know how YOU can make your non-digital lettering as epic as freaking possible, and I'm going to tell you ALL. THE. THINGS.
First and most importantly: PRACTICE, dammit.
I've been lettering since before anyone called it hand lettering or thought it was a fun hobby. Parties 5 or 6 years ago were always a blast.
Them: "So, Kiki, what do you do?"
Me: "I make hand-drawn typography."
Them: “What’s that?
Me: “I draw fancy letters.”
*blank stares, crickets chirping*
(By the way, this still happens sometimes. Just the other day I had to explain to someone what hand lettering was, and at the end of the conversation they’d decided it was the same thing as calligraphy and I was too tired to care anymore.)
The point is, I've been doing this for a long time. These days at least most people know what hand lettering is. In the meantime, I've had the chance to try all kinds of pencils, paints, markers, gel pens, inks, papers, typefaces, techniques, artistic styles, desks, chairs, lamps, and anything else you can think of. All this trying (and all the fucking up that inevitably comes with it) has taught me a LOT.
Now, you don't have to put in as many years as I have to get pretty good at lettering, but the point is that you DO have to put in the hours. You have to train your hands, build up calluses, get blisters on your calluses (seriously, it's a thing), try things, spill ink, cry, scream, and dance in your desk chair while you work. You will not get better just by visualizing awesomeness (surprise!). Get used to the idea.
Buy the best supplies you can afford.
That doesn't always mean the most expensive - there are plenty of good art supplies that are real bargains and are just as good as (if not better than) expensive brands. You don’t have to spend a fortune on art supplies to start drawing - and you definitely don't have to buy all the fancy brands everyone else is talking about. Wanna know a secret? A lot of those popular brands are all hype.
So what should you have in your pencil case?
A few .5mm mechanical pencils with various grades of lead; they don’t need to be expensive pencils, since the lead is what counts most. The only requirement is that you can draw comfortably with them. 2H, B, and 2B is a good selection of lead to start with (I HIGHLY recommend Pentel Ain Stein leads - they are hands down the strongest I’ve ever used, and you get 40 leads for the same price that other brands charge for 10 or 12. Pure magic).
Various erasers, including a large one and an eraser pencil (Koh-I-Noor is my favorite eraser pencil).
A triangular protractor and a compass.
Some black fineliners (and maybe a black brush pen for filling large areas; try to stick with the same brand/type as your fineliners). Pigma Micron and Faber Castell Pitt Artist pens are a couple of good ranges that include brush pens.
A white gel pen for corrections. I prefer Uniball Signo over Gelly Roll - far better coverage and smoother ink flow.
Optional - some metallic gel pens for making things fancy. I personally find that Uniball Signos are the best in this category as well.
You'll go far with those basics. If you'd like recommendations on specific tools or would like some tips on markers or color inks, drop me a line any time at info@kikib.eu. I don't get paid to endorse any brands - I just know what works well.
Now, on to the actual doing.
Live large.
Ditch that cute little A5 notebook you've been doodling in and don't touch anything smaller than A4 ever again. It's easy to shrink down large drawings and retain lovely detail and crisp lines, but it's impossible to blow up small ones and keep them looking nice. It's also impossible to fit as much detail onto small paper, and every little wobble or rough line is amplified by about a billion times in a small sketchbook. When you work on A4 or A3 and take a snapshot to post to Instagram, all those tiny imperfections (which are a part of anything handmade) are smoothed out nicely when you shrink it down to a little square on a pocket-sized screen, or scan your work and make a greeting card from it.
BE NEAT.
Take your time. Sketch properly before inking. Draw guides for your baseline, x-height, cap height, slant, etc and stick to them. If your letters are meant to be a consistent size and weight (and they are), make them consistent. Don't be lazy and then say "Oh, that's part of its charm! It's got character!" because we both know you want to make it look as amazing as possible, right? Be precise. It can either look hand drawn, or look totally professional with just a little extra effort.
Use a damned ruler.
Your ruler is the single greatest tool at your disposal - I'm not kidding. Use it to draw all those guidelines I just mentioned. Then, when you're inking, bring that bad boy in first to draw any horizontal lines. All the straight bits that are on the same level get done in one go without moving your ruler (hard to explain, so here's a picture). That makes sure you get insanely precise-looking letters that will be the envy of Instagram.
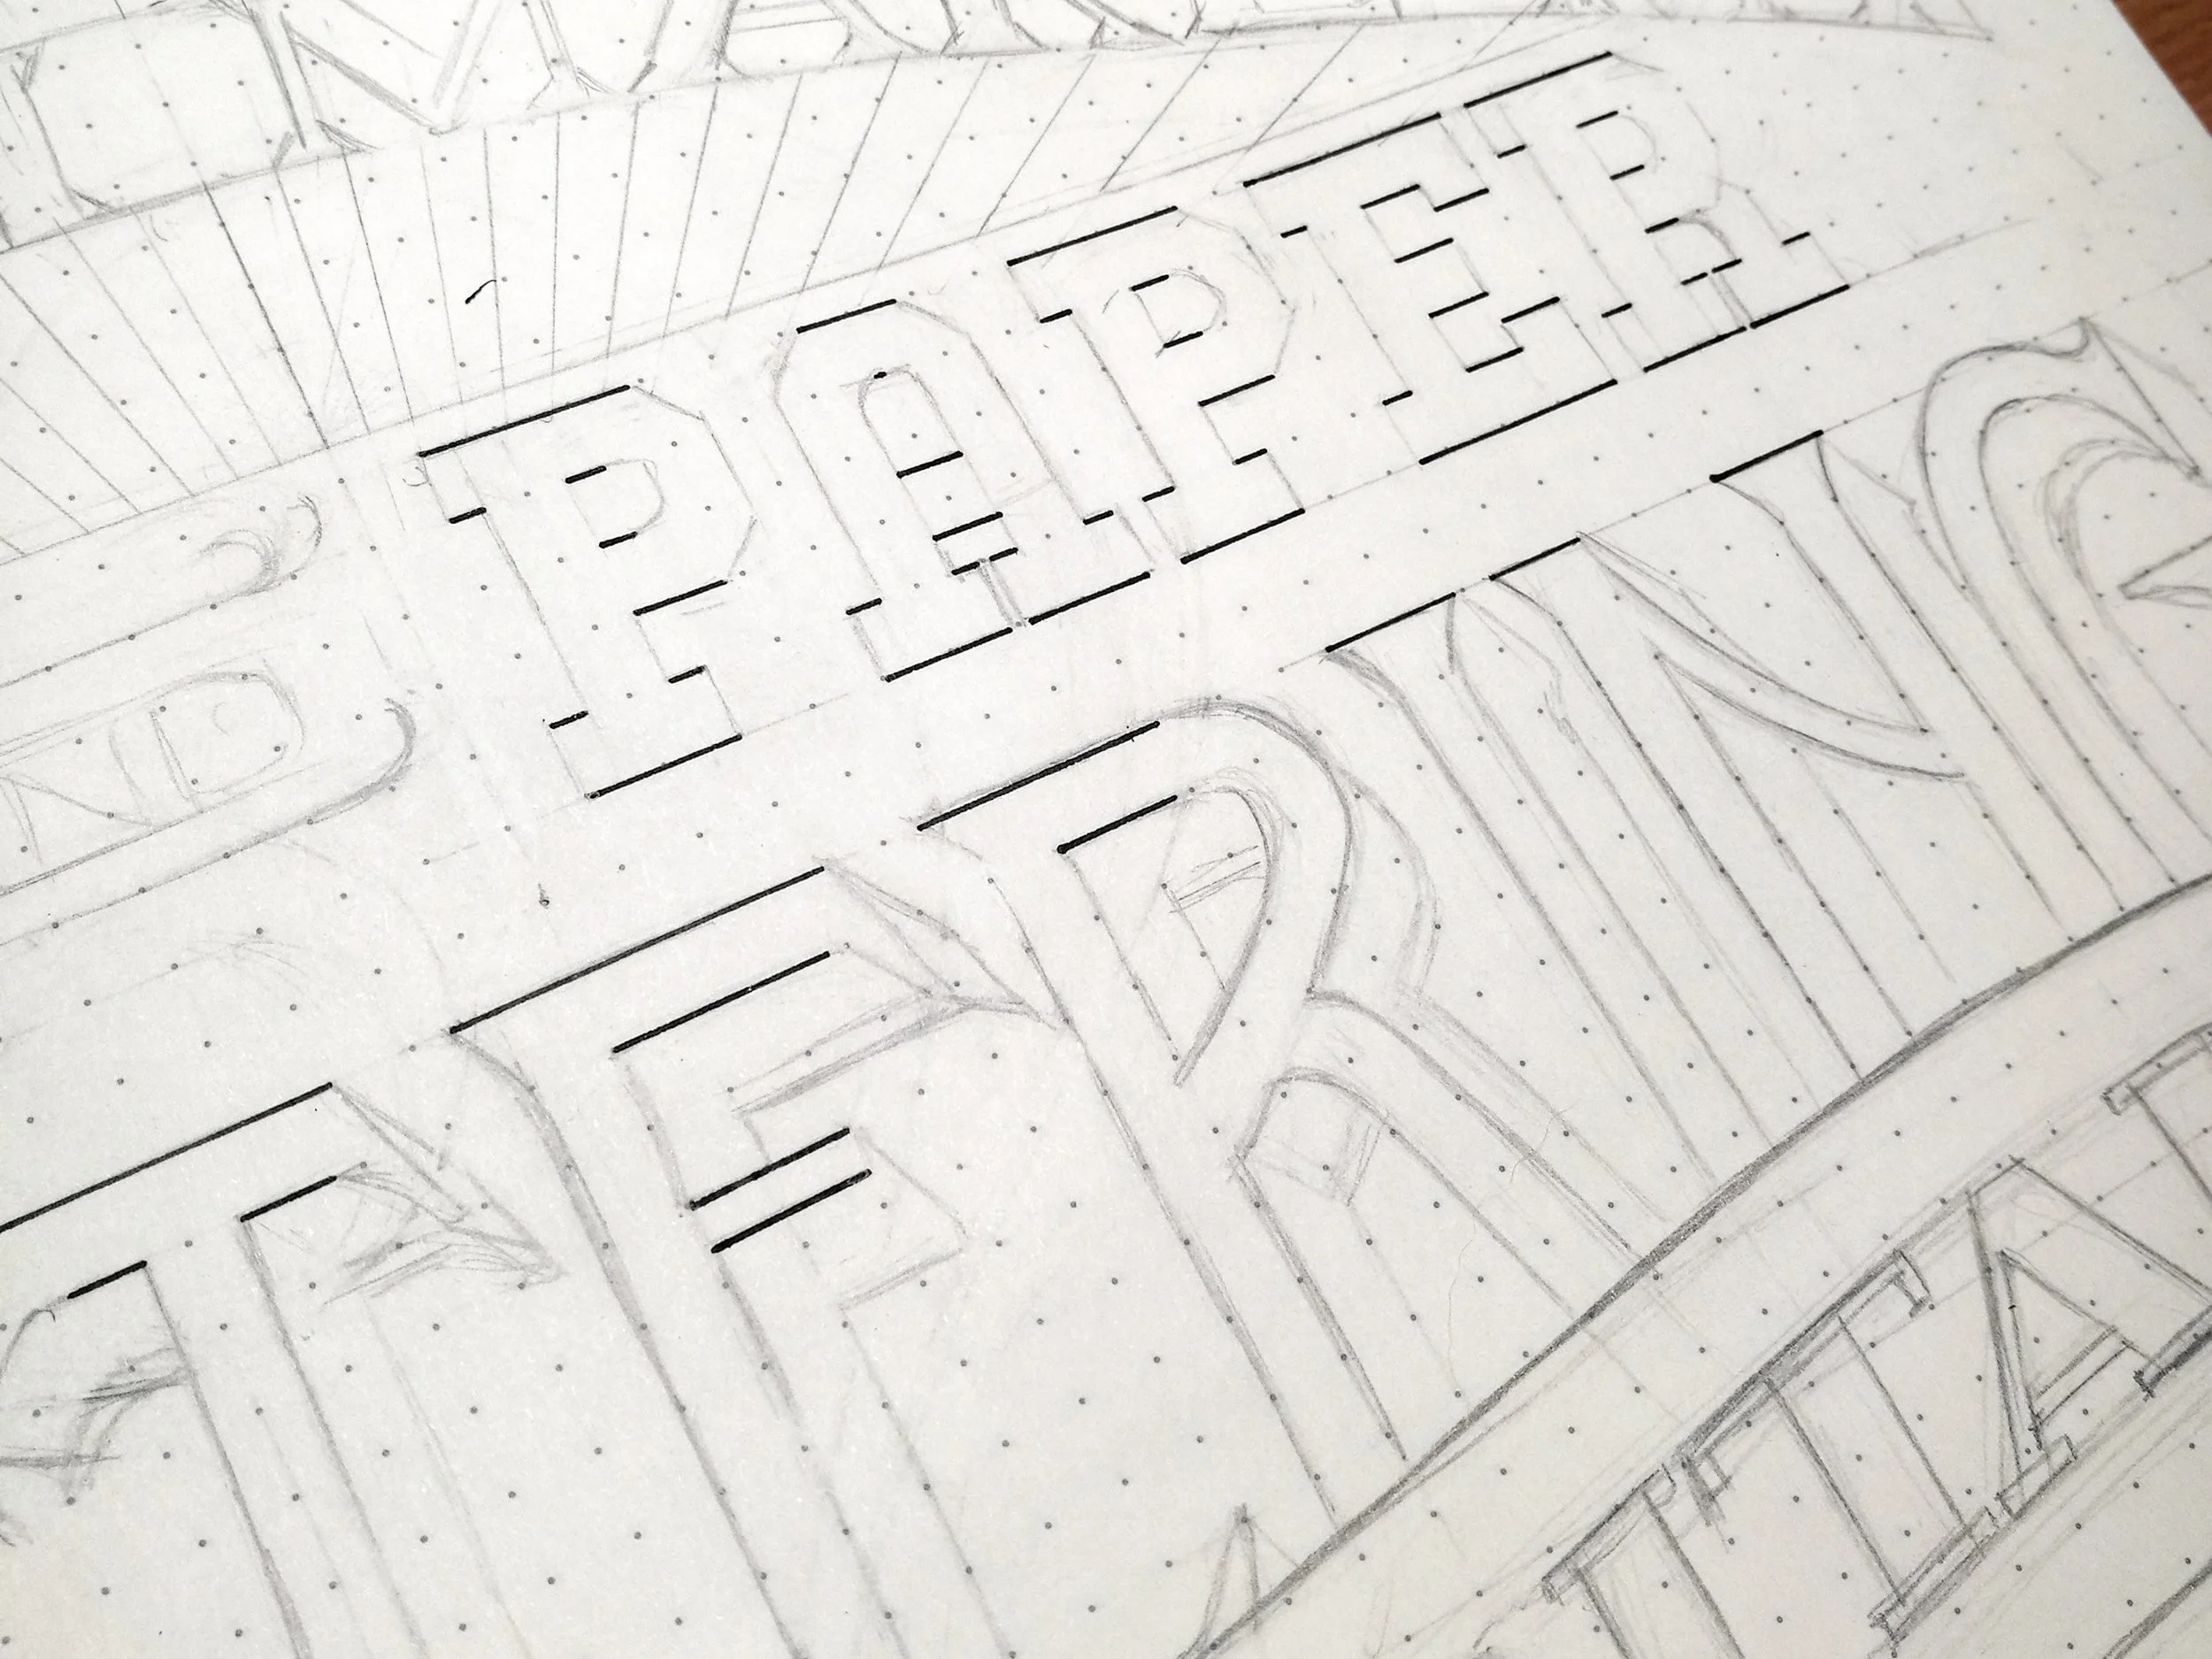
By Kiki B
Pro tip: if you get those nasty little ink pools/smudges under the edge of your ruler, you're using it wrong. See how it slopes down from a thick middle to a thin edge on one or both sides? That's there for a good reason - flip it upside down to lift the edge of the ruler off the paper a tiny bit and prevent those icky little messes. Some rulers even have a special pen edge which is cut away on the underside, and there are those wooden rulers with the metal edge - which, you'll notice, is also raised off the paper. Mind blown, right?
Remember that old adage "Measure twice, cut once?"
Well, it applies here, too. Sketch each word out quickly on scrap paper to determine its size, shape, and approximate center so you don't run out of space at the end of a line or end up with words in places you don't want them - because then if you want to fix it you'll have to draw it all over again, and we all know nobody wants to do that. Pro tip: tracing is the analog version of Ctrl+C. It's totally ok to draw each word separately on extra paper and then trace them onto your finished layout so you can position them perfectly with minimal effort. Tracing isn't cheating when it's your work.
Take your time inking.
There's seriously no rush (unless you're on a deadline, in which case, cut corners elsewhere but don't rush your inking).
Straight bits get done first with your ruler for maximum neatness. Then connect any curves to the straight lines - much easier than trying to line up a ruler to attach a straight line to an existing curved one. Your curves should be a series of teeny tiny strokes - it's much easier and smoother than doing a whole line in one go.
If you're using a brush pen or ink and a brush to fill larger areas, don't feel weird about taking the extra time to outline the area in pen first - it'll save you a lot of stress and potential messes, especially if you're not super confident with a brush yet.
Use thick outlines. Start them thin, then gradually build up using small penstrokes. This gives you the opportunity to smooth over any wobbles and make your lines look super sharp. Bonus: thicker outlines show up better in photos and look more professional as well.
When all your ink is done, touch up. Take your white gel pen and cover up any uh-oh moments - jagged bits, ink blots, wonky curves, etc. White ink is rarely the same color as your paper, but that's ok - when you edit your photo it will blend right in and no one will be the wiser.
Finally, photography and editing.
This is where some serious magic happens. You don't have to be a professional photographer, make amazing flatlays, have an army of daylight lamps and softboxes, or get a really expensive camera. Your phone's camera is just fine.
You'll want some bright light (daylight is best, but I can't tell you how many times I've had to photograph in the middle of the night) and if you can use a couple of softer light sources, you'll avoid having a lot of sharp shadows or bright glare on your artwork. Holding a large sheet of white paper up against a light source will diffuse it nicely so you'll get soft, even lighting. If you have one of those adjustable arm desk lamps, point it up at the ceiling to reflect the light all around when it's photo time.
Editing is the really crucial bit, but again, you don't need anything fancy. Your phone and Snapseed (free photo editing app) will do nicely. Some tips for getting the best results:
Stick mostly to adjusting highlights, shadows (low values give you a nice deep black), warmth (keep this adjustment small!), and saturation. Sometimes you'll have to do it a few times to get the results you want. There are plenty of times where Highlights +100 just isn't enough.
Use the Brush tool to brighten up darker areas by selecting Exposure +0.3 and building up gradually. I start with a large area, hit OK and then repeat several times while making the brush area smaller with each progressive edit. This way you avoid getting a sharp line dividing a brighter and a darker area.
If you're new to editing like this, be patient with yourself. It just takes a little practice.
If you don’t believe editing is that crucial, these will change your mind. I haven’t exaggerated the before shots in any way - this is exactly how they’re shot.

By Kiki B
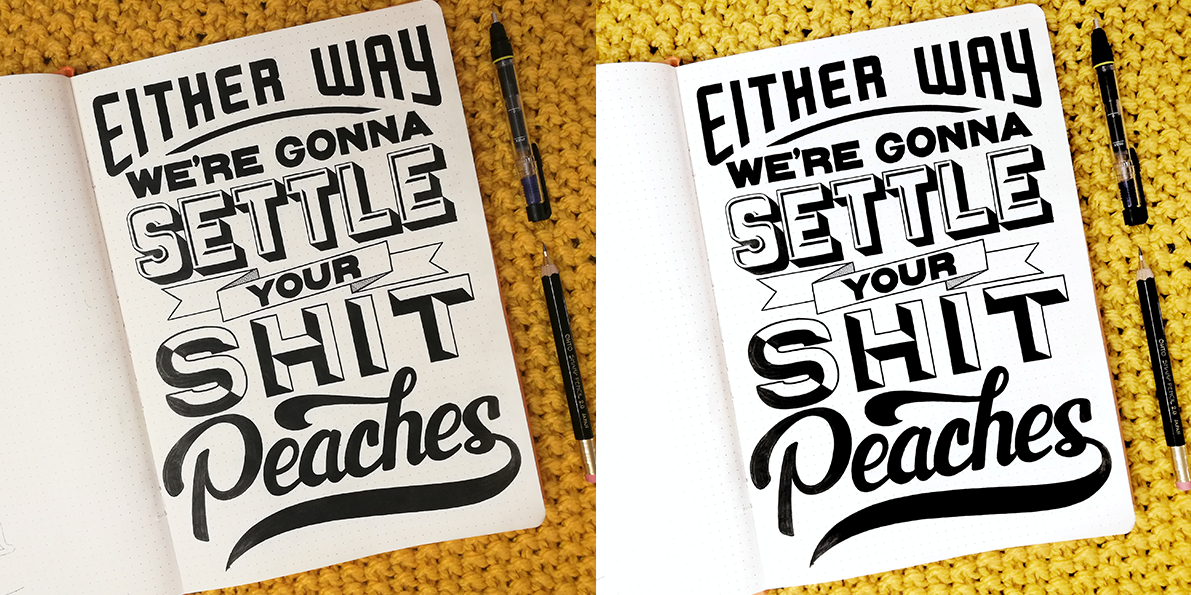
By Kiki B

By Kiki B
I learned so much from this post, holy crap! Snapseed? Had never heard of that! Lettering large? I had a feeling I should bail on my small sketchbook but kept pushing that thought to the back of my mind and then would get frustrated that no one could see the amount of detail on my Instagram pics! GAH! Duh!
Thank you so much Kiki, for teaching us such valuable skills! Go and follow her if you’re not already, she is a rockstar! (@the.kiki.b)
How do I Make My Pen & Paper Lettering Look Digital?
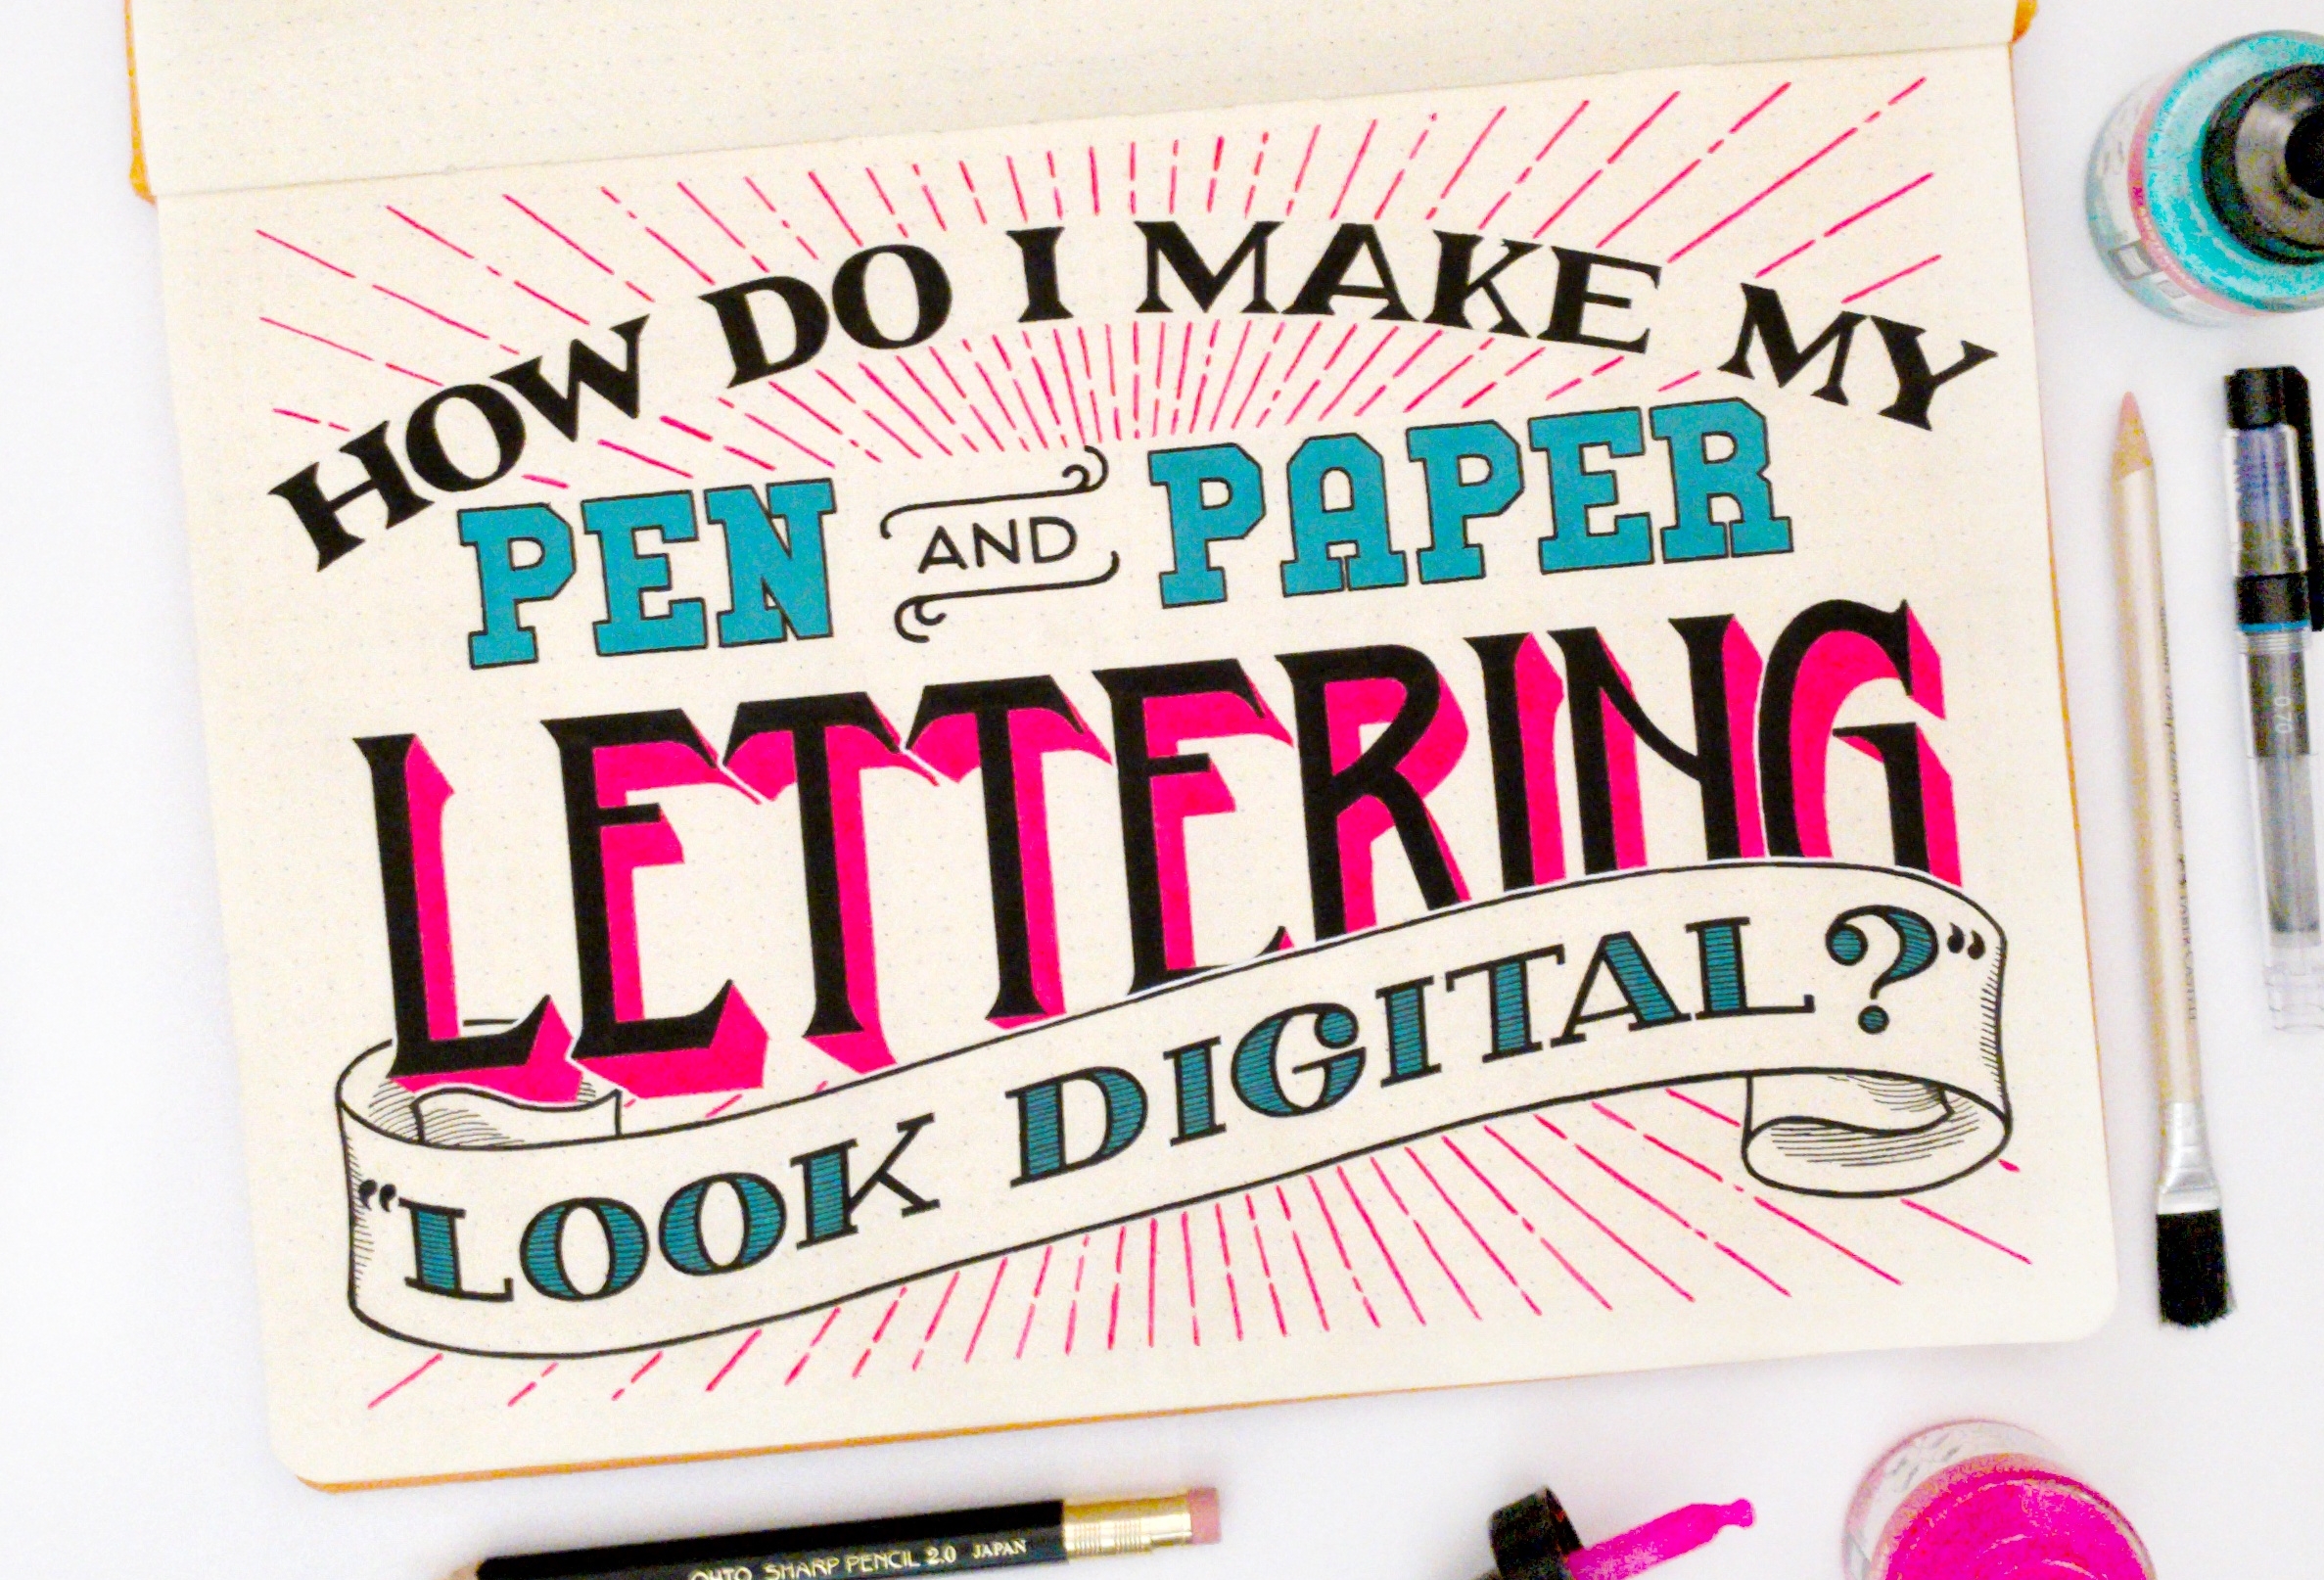
By Kiki B (@the.kiki.b)
This week I have the special honor of having an amazing, talented gal — Kiki B as a featured artist!! She is the queen of precision and because of that, she receives this question a lot: How do I Make My Pen & Paper Lettering Look Digital? If any of you do not own an iPad (Hi, me.) or Adobe software or you do and just don’t know how to use them, stay tuned!! Kiki is going to reveal her tricks and tips to making the old fashioned way of lettering look stunning! I seriously cannot wait!
ANSWERED: IN LETTERING, WHAT'S A SPUR? AND HOW DO YOU USE IT?

As I research all of these questions, I'm noticing a pattern: typography is not as black and white as I once thought! Spurs are definitely in the gray area, that is, at least MEDIAN spurs. Spurs are "actually the piece that extends from the curve in a letter. The best examples of these are the top and bottom of the "C" and "S". Spurs are smaller than serifs and beaks, which makes this one of the smallest typography terms." (Source: https://www.freelancer.com/community/articles/define-typography-20-typography-terms-you-must-know)
So Median Spurs are the pointy doo-dads in the middle of the stems (Stem definition) and bowls (Bowl definition).

From what I've gathered, the term "Median Spur" is not used by everybody. There was an entire Typophile.com thread I found where people were discussing what to call said "doo-dads". Here's the list for kicks and giggles...
- Lateral Spurs
- Thorns
- Tuscan Bulges
- Tuscan Flourish
- Diamond Thingies (lol)
- Interlocation Spur
- Interposition Spur
- Lateral Thorn
- Bilateral Spur
- Broadside Thorn
So what is the origin of these "diamond thingies"? They're most closely associated with Western Type (hence the desert scene I did in the spurred letters of my piece) but they first appeared in a very different location: France! "By the end of the seventeenth century... gone are the irrelevancies of calligraphy, replaced instead by the spurs, beaks, serifs and terminals of modern typography. ...when a committee of French academics was convened to study the formation of the perfect roman letter." "Louis XIV incorporated this committee into the Académie des Sciences, the council he organized for the staggering undertaking of recording for posterity an account of all the realms of human endeavor, the first of these engravings became the conceptual basis for a new series of types made for the exclusive use of the crown: cut by Phillipe Grandjean beginning in 1694, these are the romains du roi, the King’s romans." (Source: https://www.typography.com/fonts/didot/history/).
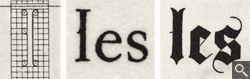
One of the most conspicuous characters in the romain du roi was the spur halfway up the left side of the lowercase L! "This flourish has calligraphic credentials, appearing on the stem of all ascenders in the gothic lowercase in both written and printed form." (Source: https://www.typography.com/fonts/didot/history/).
"So strong were this detail’s connotations that the ‘spurred L’ was preserved for generations by typefounders who served the French crown." (Source: https://www.typography.com/fonts/didot/history/). While we can see that the median spur on the 'L' was created waaaay before Western type, I couldn't find if median spurs were plopped on other letters too. There was a discussion about the origin of median spurs on Reddit where a user says the style is called Tuscan and it originates from wood type in the later half of the 1800's. Maybe median spurs for the other 25 letters excluding 'L' did originate from wood type but I can't confirm or deny it and I kind of doubt it (merp!). Trying to find information on these bad boy ornaments proved difficult. I hope to be able to buy Rob Roy Kelly's book "American Wood Type: 1828-1900" someday and maybe that'll help clear things up for us.
So if there's not a lot of information on the "diamond thingies", how do we know how to use them? The best advice I have is to just experiment. I know, I know, I hate that answer too. But I found this list of typefaces with median spurs and they're all over the place! Some have diamond spurs, some have curved spurs that definitely look more like thorns or a wave. Some have just lines, some have concave squares, some have bifurcated serif things (WTF is bifurcated?! Click here!) And that's just the spur shape itself! Some typefaces have the spurs on the outside of the bowl and on the inside of the counter. (My 2 cents would be if your typeface is condensed, don't put the median spurs in the counter—it diminishes legibility.) Aaanyway, you get my point. These median spurs are slippery as far as rules go but hell, just have fun with them. They're small but they pack a punch when you use them in your hand-lettering. :)
xoxo,
Kelsey
In Lettering, What's a Spur? And How Do You Use It?
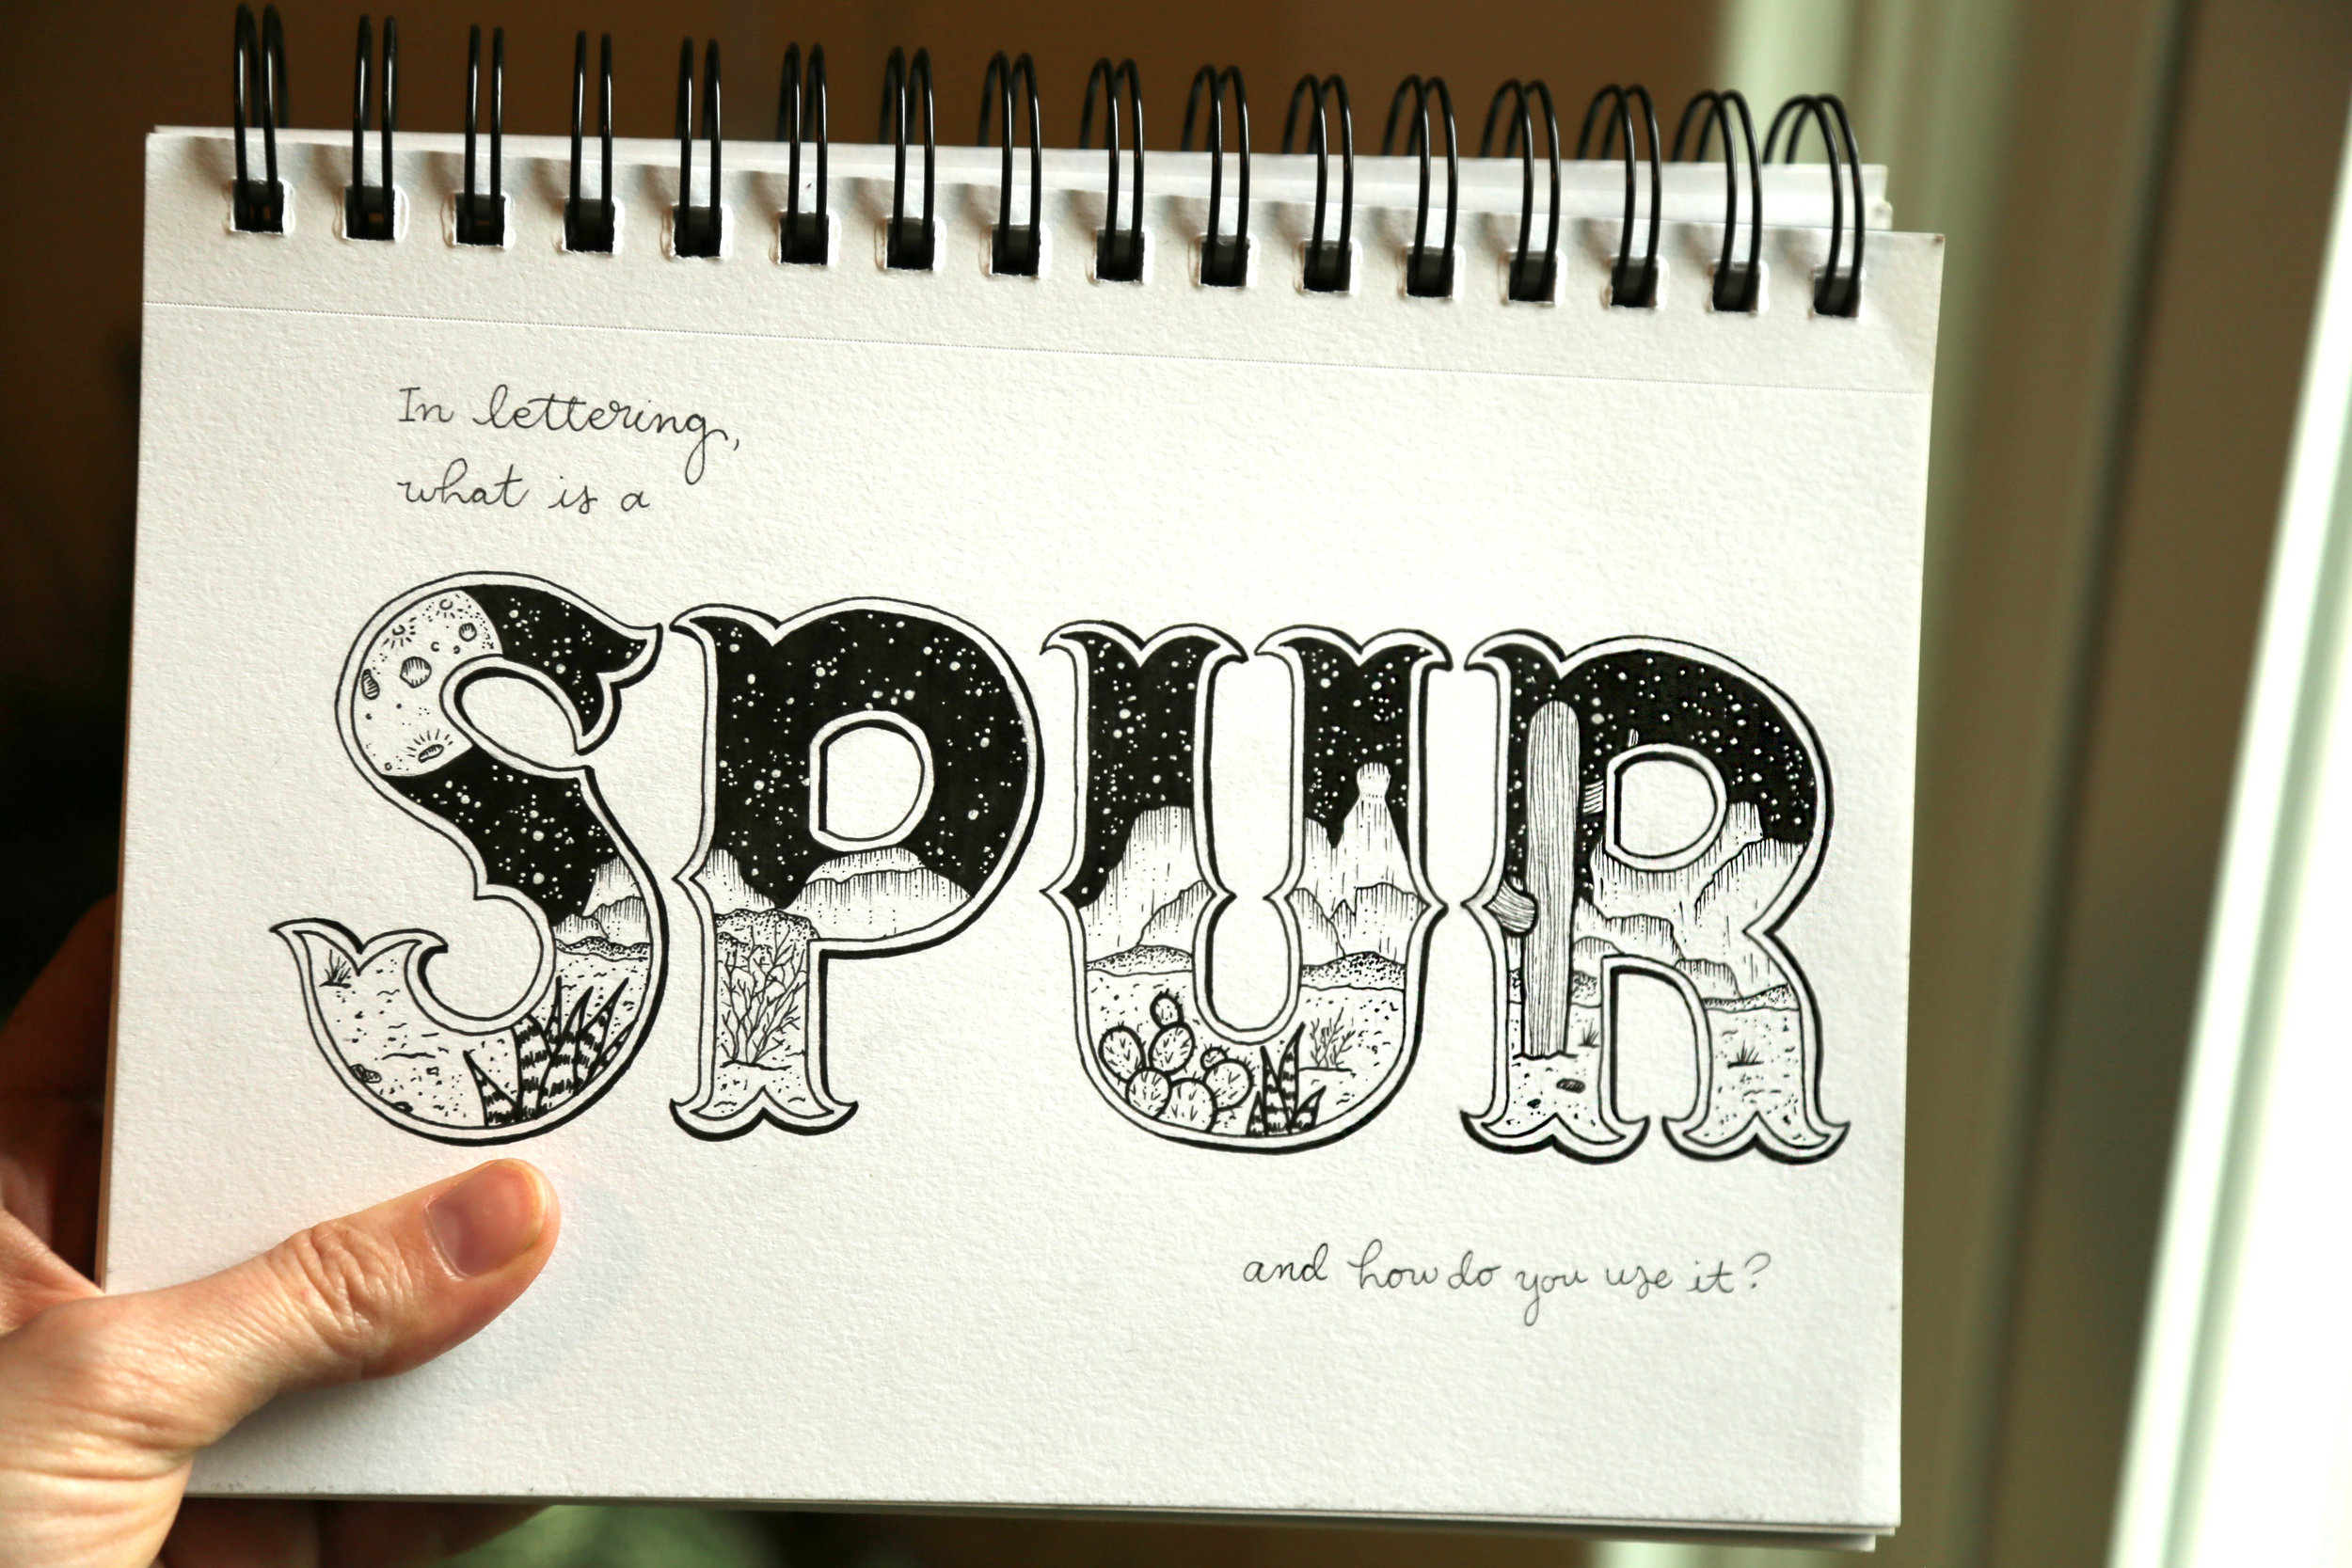
Remember those pointy things in the middle of letters that I was wondering about in the first art-to-art post? Well, I did find out that they're called spurs! Let's see what else I can find out about this fun doo-dad this week!
ANSWERED: How Do I Do Retro Lettering?
Fortunately, this week's answer was easier to find than the previous week's! The answer to the question: How do I do retro lettering? Break lots of rules. :) Hahah much like the chunky retro script from last week, other fonts that are retro inspired breaks some rules. Here are some of them:

By Ken Barber
- Bouncy Baseline. 4 out of the 5 examples you'll see here have a bouncy baseline which means that none of the letters sit on the same line. (To find out more about baselines, click here). When you'er lettering yourself, don't go too crazy with the bounciness because we still need the word to be legible!

Couldn't find the illustrator!
- Inconsistent thick and thin strokes. This is a chance to have fun! You're not tied down to consistency here! But again, there is a balance that needs to be maintained! You want the letters to look like they belong to the same (albeit dysfunctional) family.

Couldn't find the illustrator!
- Pointy triangle serifs with little to no brackets. This probably is not the most technical of terms but it helps me get a visual in my head so I hope it works for you! If you're not sure what a bracket is, click here. And for a serif definition refresher, click here. I found these types of serifs all over the place while I was researching and let me tell ya: they're a hoot to draw!
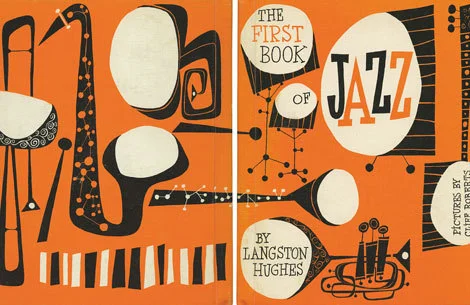
By Cliff Roberts
- Hairline serifs. I noticed in my research that most of the big headline text had the pointy triangle serifs while the subheads were in this hairline serif font. There's no bracket with these kinds of serifs which makes life a whole lot easier!

By Cynthia Amrine
- Simple, left-justified, Georgia-like font. And to throw everything off that we just learned, you can also go for the simple look that's reminiscent of primary school books like See Jane Run, etc. To get the characteristics down, just Google "Georgia font" and you'll see where the thick/thin strokes are, how the terminals are treated, strict baseline, etc. If you use this look in your lettering, it's always nice to pair it with a retro-styled illustration above and/or to the right of the text.
And that does it for this week! Please let me know if you have any questions you'd like me to research! And I hope these posts are helpful for y'all! I know they've helped me so far. :)
xoxo,
Kelsey
How Do I Do Retro Lettering?

We've learned how to make our illustrations retro and we've learned the rules for that beautiful, chunky, retro script but how do we put the cherry on this cake and create typography that looks like it's from 1940-1970? We can't only do the chunky script (unfortunately). So what are the little elements that we can use to make our hand-lettering look retro? I'll snoop this week and report back on Sunday! Over and out!
xoxo,
Kelsey
SORT OF ANSWERED: Pretty sure chunky, retro, brush script is breaking so many rules, right?
Guys. Holy cannoli, this week's question was really hard to answer. I found myself in the depths of font research from 1850 and so desperate for answers that I somehow found the courage to send DMs to a couple of major typography Gods just hoping that they'd answer and to my surprise and huge appreciation, they responded! So let's dive in.
We'll start with the description of script: "Script typefaces are based on the forms made with a flexible brush or pen and often have varied strokes reminiscent of handwriting. There are many different classifications including Brush Script, English Roundhand and Rationalized Script. However, the broadest forms of classification are Formal Script and Casual Script. Formal Scripts are based on the developments and writings of 17th and 18th century handwriting masters such as George Bickham, George Shelley and George Snell. Casual scripts developed in the 20th century as a result of photo-typesetting and are more varied and the inconsistencies appear to have been a result of using a wet pen rather than a pen nib.” (Source: http://www.designishistory.com/1450/type-classification/) Since we're not using a wet pen OR a pen nib, this might not be helpful to us. But Scott Biersack (@youbringfire) said: "Script essentially refers to letterforms that are joined together by a single movement of the hand. But, in this case, since we're drawing, it will be the buildup of pencil strokes. It will consist of many, many strokes that will be made to develop and refine the letterforms... rather than completing the letterforms in one movement as you would with calligraphy.” (Source: https://design.tutsplus.com/tutorials/hand-lettering-scripts-swirls-flourishes--cms-22560)
The Formal Scripts (just FYI) include the following:
- Roundhand
- Spencerian
- Copperplate (term applied to the English roundhand script)
The type of script we're concerned about right now falls under the Informal Script category. [Informal script]..."is much more flexible. It has some roots within formal script, such as letterform construction, but it has the ability to be completely unique from its origin.The overall speed, composition, color, size, and other factors vary with informal script. Altering the width, angle, size, contrast and other characteristics of a letterform can create unique informal script letterforms.” (Source: https://design.tutsplus.com/tutorials/hand-lettering-scripts-swirls-flourishes--cms-22560)

By Ken Barber

So now that we understand what exactly the definition of "script" is, how does this help us understand how to recreate the chunky, retro style script? Well, to answer that, I had to find the origin of it which was near to impossible. So this is the point where I got desperate and just straight up DM'd Scott Biersack and he was so gracious and responded so promptly! He said, "To answer your question, I personally don't know the exact origin of that style but I'd say it possibly could have been Italian Spencerian script..." So on to researching Spencerian script I went!

By Ken Barber
Let me give you a snippet of what I found in the book "Spencerian Key to Practical Penmanship" by H.C. Spencer, Pratt R. Spencer. "The shade upon t and d is heaviest at top, tapering gradually to the lower turn. The shade of the small letter p is the reverse of t, commencing on the ruled line, and continuing to the base of the letter. When two p's’, d’s’, or t’s’, come together, the first is shaded while the second receives a half shade only. These letters have the preference in shading, hence, small loop letters, immediately connected with them, are not shaded; for example: th, dl.” DID YOUR BRAIN BREAK BC MINE DID. What I translate that into is "memorize how each letter should look because each one will be different and then those rules will change depending on what comes after it so GOOD LUCK WITH THAT." I know there might be typographers reading this thinking "yah, that's typography for ya." Which yes, it is. You have to be aware of different factors like that when creating a font but dude, I just want to know why it's ok to put the thickest part of the letter at the bottom sometimes.
Fortunately, Biersack recommended I read this interview with Ken Barber (@typelettering) where he discusses learning from the past to do better now. (If you want to read the interview, here's the link: https://medium.com/type-thursday/learn-from-the-past-to-do-better-now-c94dfcffde2a). It didn't quite answer my questions so I went directly to the source. Barber was amazingly gracious with his responses. He said, "As far as I can tell, this style stems from a drawn version of exaggerated American handwriting developed for advertising during the late 19th century. The original Coca-Cola logo from the 1880s is a prime example... if you want to get SUPER technical: it's a stylized version of Spencerian display lettering." So I was wrong when I called it a brush script—definitely not that!
Now, if you look at formal Spencerian script and the retro script we're discussing, there's very few similarities between them. This really frustrated me at first. But then I realized that if I learned anything from reading that mind-numbing Spencerian book, it's that you're allowed to push the limits of typography. You're allowed to fiddle with letters. That's both the beauty and the irritation of hand-lettering when you're trying to learn!
Ken Barber said it well in his Medium.com interview: “Considering that the letters’ forms have long been established, it makes sense to examine traditional models. However, that doesn’t mean there isn’t room for interpretation. Spencerian lettering from the 20th century is a good example of the evolution of lettering: the style is based on classic English roundhand, but its incarnation during the late 1960s and early 70s bears little more than a slight resemblance to its origins. When you consider the history of letterforms, how one idea is built on another, it’s only natural to look back in order to move forward." (Source: https://medium.com/type-thursday/learn-from-the-past-to-do-better-now-c94dfcffde2a)
To move forward and progress with your own hand-lettering in this particular retro script style, below are some tips from one of the masters, Ken Barber.
- Crank up the weight
- Lower the contrast
- Soften the terminals (If you're wondering what a terminal is, check this out: https://typedecon.com/blogs/type-glossary/ball-terminal)

By Scott Biersack
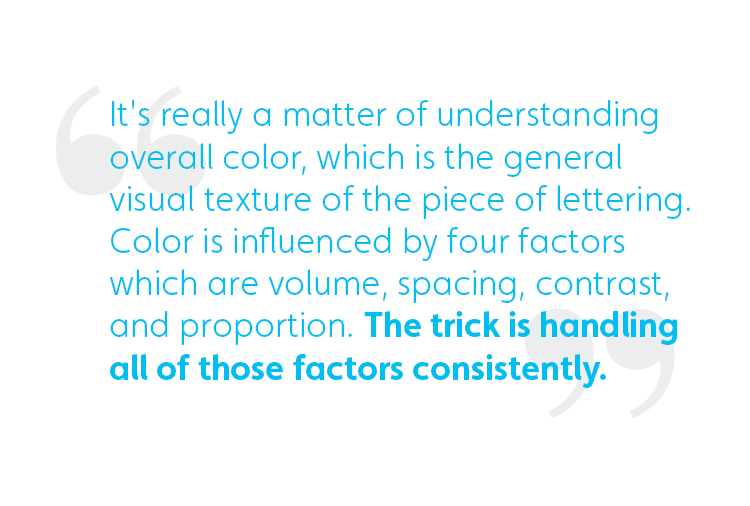
And lastly, this solid gold nugget of wisdom on how to master this style and hand-lettering in general, "It's really a matter of understanding overall color, which is the general visual texture of the piece of lettering. Color is influenced by four factors which are volume, spacing, contrast, and proportion. The trick is handling all of those factors consistently. Which means the volume or the fullness of the strokes is consistent, the spaces inside and between the letters are consistent, the contrast or variation in stroke thickness is consistent, and the relative sizes of the letters are consistent. If you apply those metrics to the lettering in question, we should see that for the most part they are handled uniformly to create overall cohesiveness in the lettering. That's the best guide for lettering like this that is a little off the beaten path." - Ken Barber.
xoxo
-Kelsey
Pretty sure chunky, retro, brush script is breaking so many rules, right?

When it comes to hand-lettering, I'm 95% self-taught. I did have a head start because I majored in graphic design and learned typography rules and terminology but as I dive deeper into the hand-lettering world, I see more and more of those strict typography rules broken and it's ok! Sometimes! And other times it's not ok! This is the paradox of art that drives me nuts... but I digress.
This week we're focusing on chunky, retro, brush script that is so cute! But makes no sense to me! I took a traditional calligraphy class where I learned the basics: the thick strokes are where the calligrapher pushes DOWN. The thin strokes are the UP strokes. You got a baseline and an angle that the letters all consistently sit on. So knowing that this is the foundation for script fonts, pretty sure chunky, retro, brush script is breaking so many rules, right?? The thick strokes are on the bottom of the letter and they're soooo thick! The thin strokes are where you would normally be pushing down. The baseline is bouncy and the angle is almost non-existent. So what are the rules for this type of font? Are there any? Is it mass chaos out there? I will research this week and report back! Stay tuned!
xoxo
-Kelsey
ANSWERED: How Do I Make My Illustrations Look Retro?
"Everything old is new again." For the past few years, retro styled illustrations (and furniture and typography and clothing and and and...) have been trendy, making that adage spot on. But what makes an illustration look retro?? Is it the simplicity? Well, not exactly, because there are plenty of simple line illustrations out there that don't have that sentimental feel. This sentimental feeling I'm talking about had puzzled me for awhile because I couldn't put into words how to recreate that emotion—until now! I spent the past week researching illustrators that have perfected this style and reading articles about the limitations these illustrators had and how they brilliantly worked within them. So let's dive in to some simple bullet points that make retro-inspired art easier to put your finger on!
- According to www.productivedreams.com: "Limited use of colors is the prominent trait of retro designs. Full color printing was very expensive in the past. This prompted many designers to limit the use of colors in their designs. Two toned coloring was predominantly used by retro designers. Sometimes designers selected a focal color and blended it with few selected colors to create a unique theme.

By Aurelius Battaglia

By Cliff Roberts

By Bernice Myers
- Subtle use of textures and noise in the background and certain individual elements in the illustration helps in creating a visually appealing retro design.
- Distressed textures
- Halftone textures
- Dry brush textures

By Greg Paprocki

By Frans de Keuning
- Overprinting refers to the process of printing one color on top of another in reprographics. (Thank you Wikipedia). Have you ever noticed that the spots of color often don't line up with what they're supposed to? It's like the paper shifted during printing (which is I'm sure what happened). See the image below and really pay attention to the witch's hair, the green skin, and the socks! You can easily recreate this in your pieces just by being loose and carefree with your coloring!
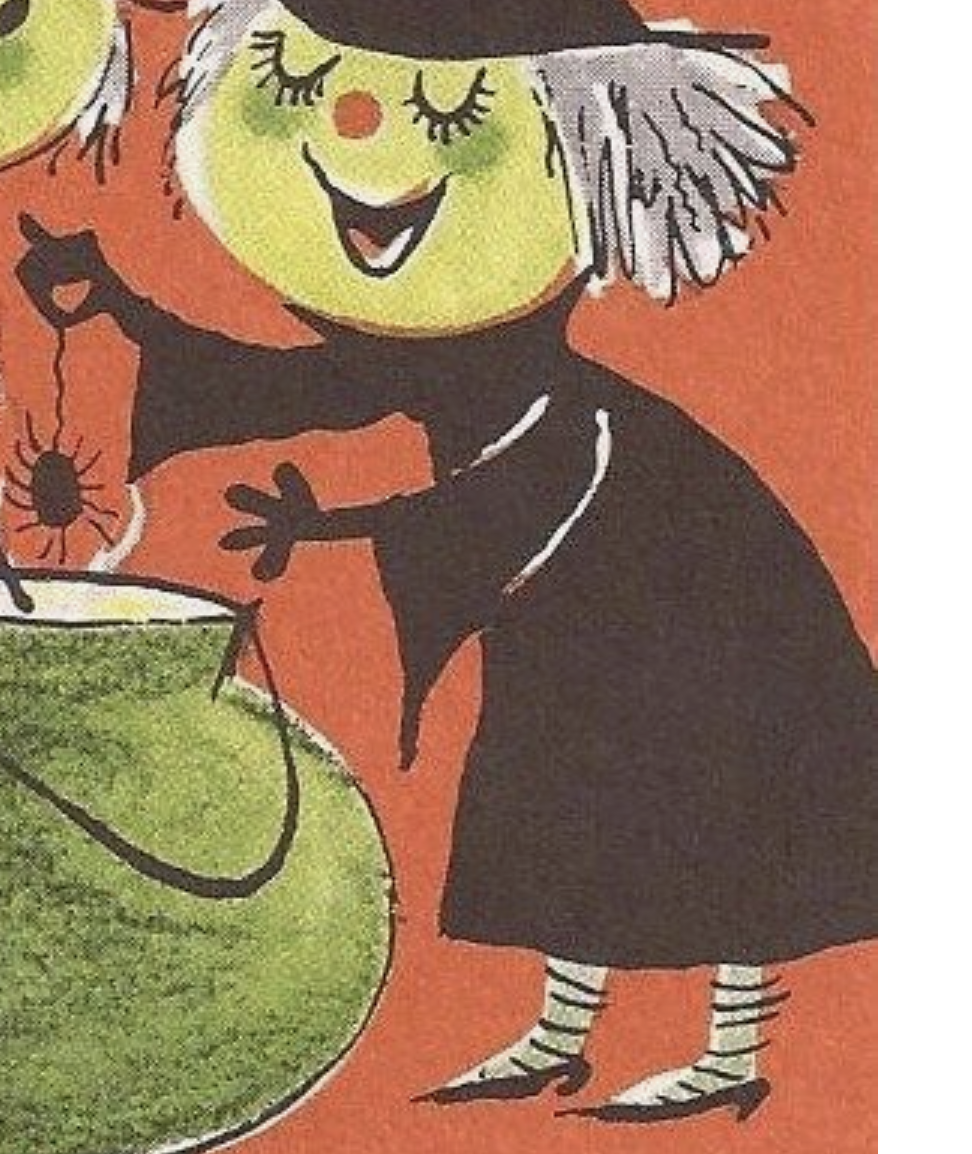
Couldn't find who the illustrator was!
- Retro style illustrations are very simple. Eyes are usually very small: just filled in circles, open circles with filled in pupils or arches up or down to show happiness, snootiness or sleeping. Chins, mouths and noses are the facial aspects that are exaggerated.

By Cliff Roberts
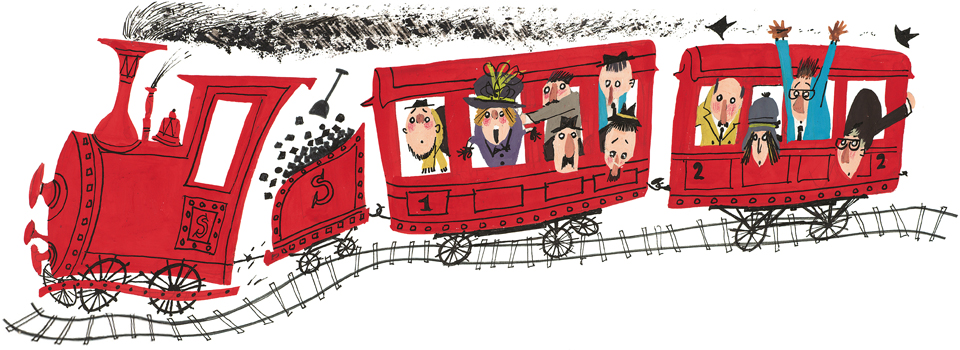
By Fiep Westendorp
- Common elements that add playfulness to retro style illustrations are:
- Asterisk stars
- North star type stars
- Dots
- Hollow ovals
- Arrows
- What I like to call "Boomerang" shapes (See in Derek Yaniger's image)

By Derek Yaniger

By Cynthia Amrine

By Lalalimola
- Some things outlined loosely, some not outlined at all. (See that the petals in the flowers are not outlined at all while everything else is in a shaky, inconsistent line in the following image).
- Very flat, 2D

By Cliff Roberts
- Fingers that look like there are no bones in them.
- Hair is treated as a solid shape or showing every strand.

By Abner Graboff
- Limbs are exaggerated with pointy or very curved corners.

By Derek Yaniger

By Jan Balet
That about does it for tips I found to master the retro style of illustration! I hope that this was helpful and that it only makes your love and appreciation for all different styles of art grow!
xoxo
-Kelsey